

Focus FK-2001 Modification

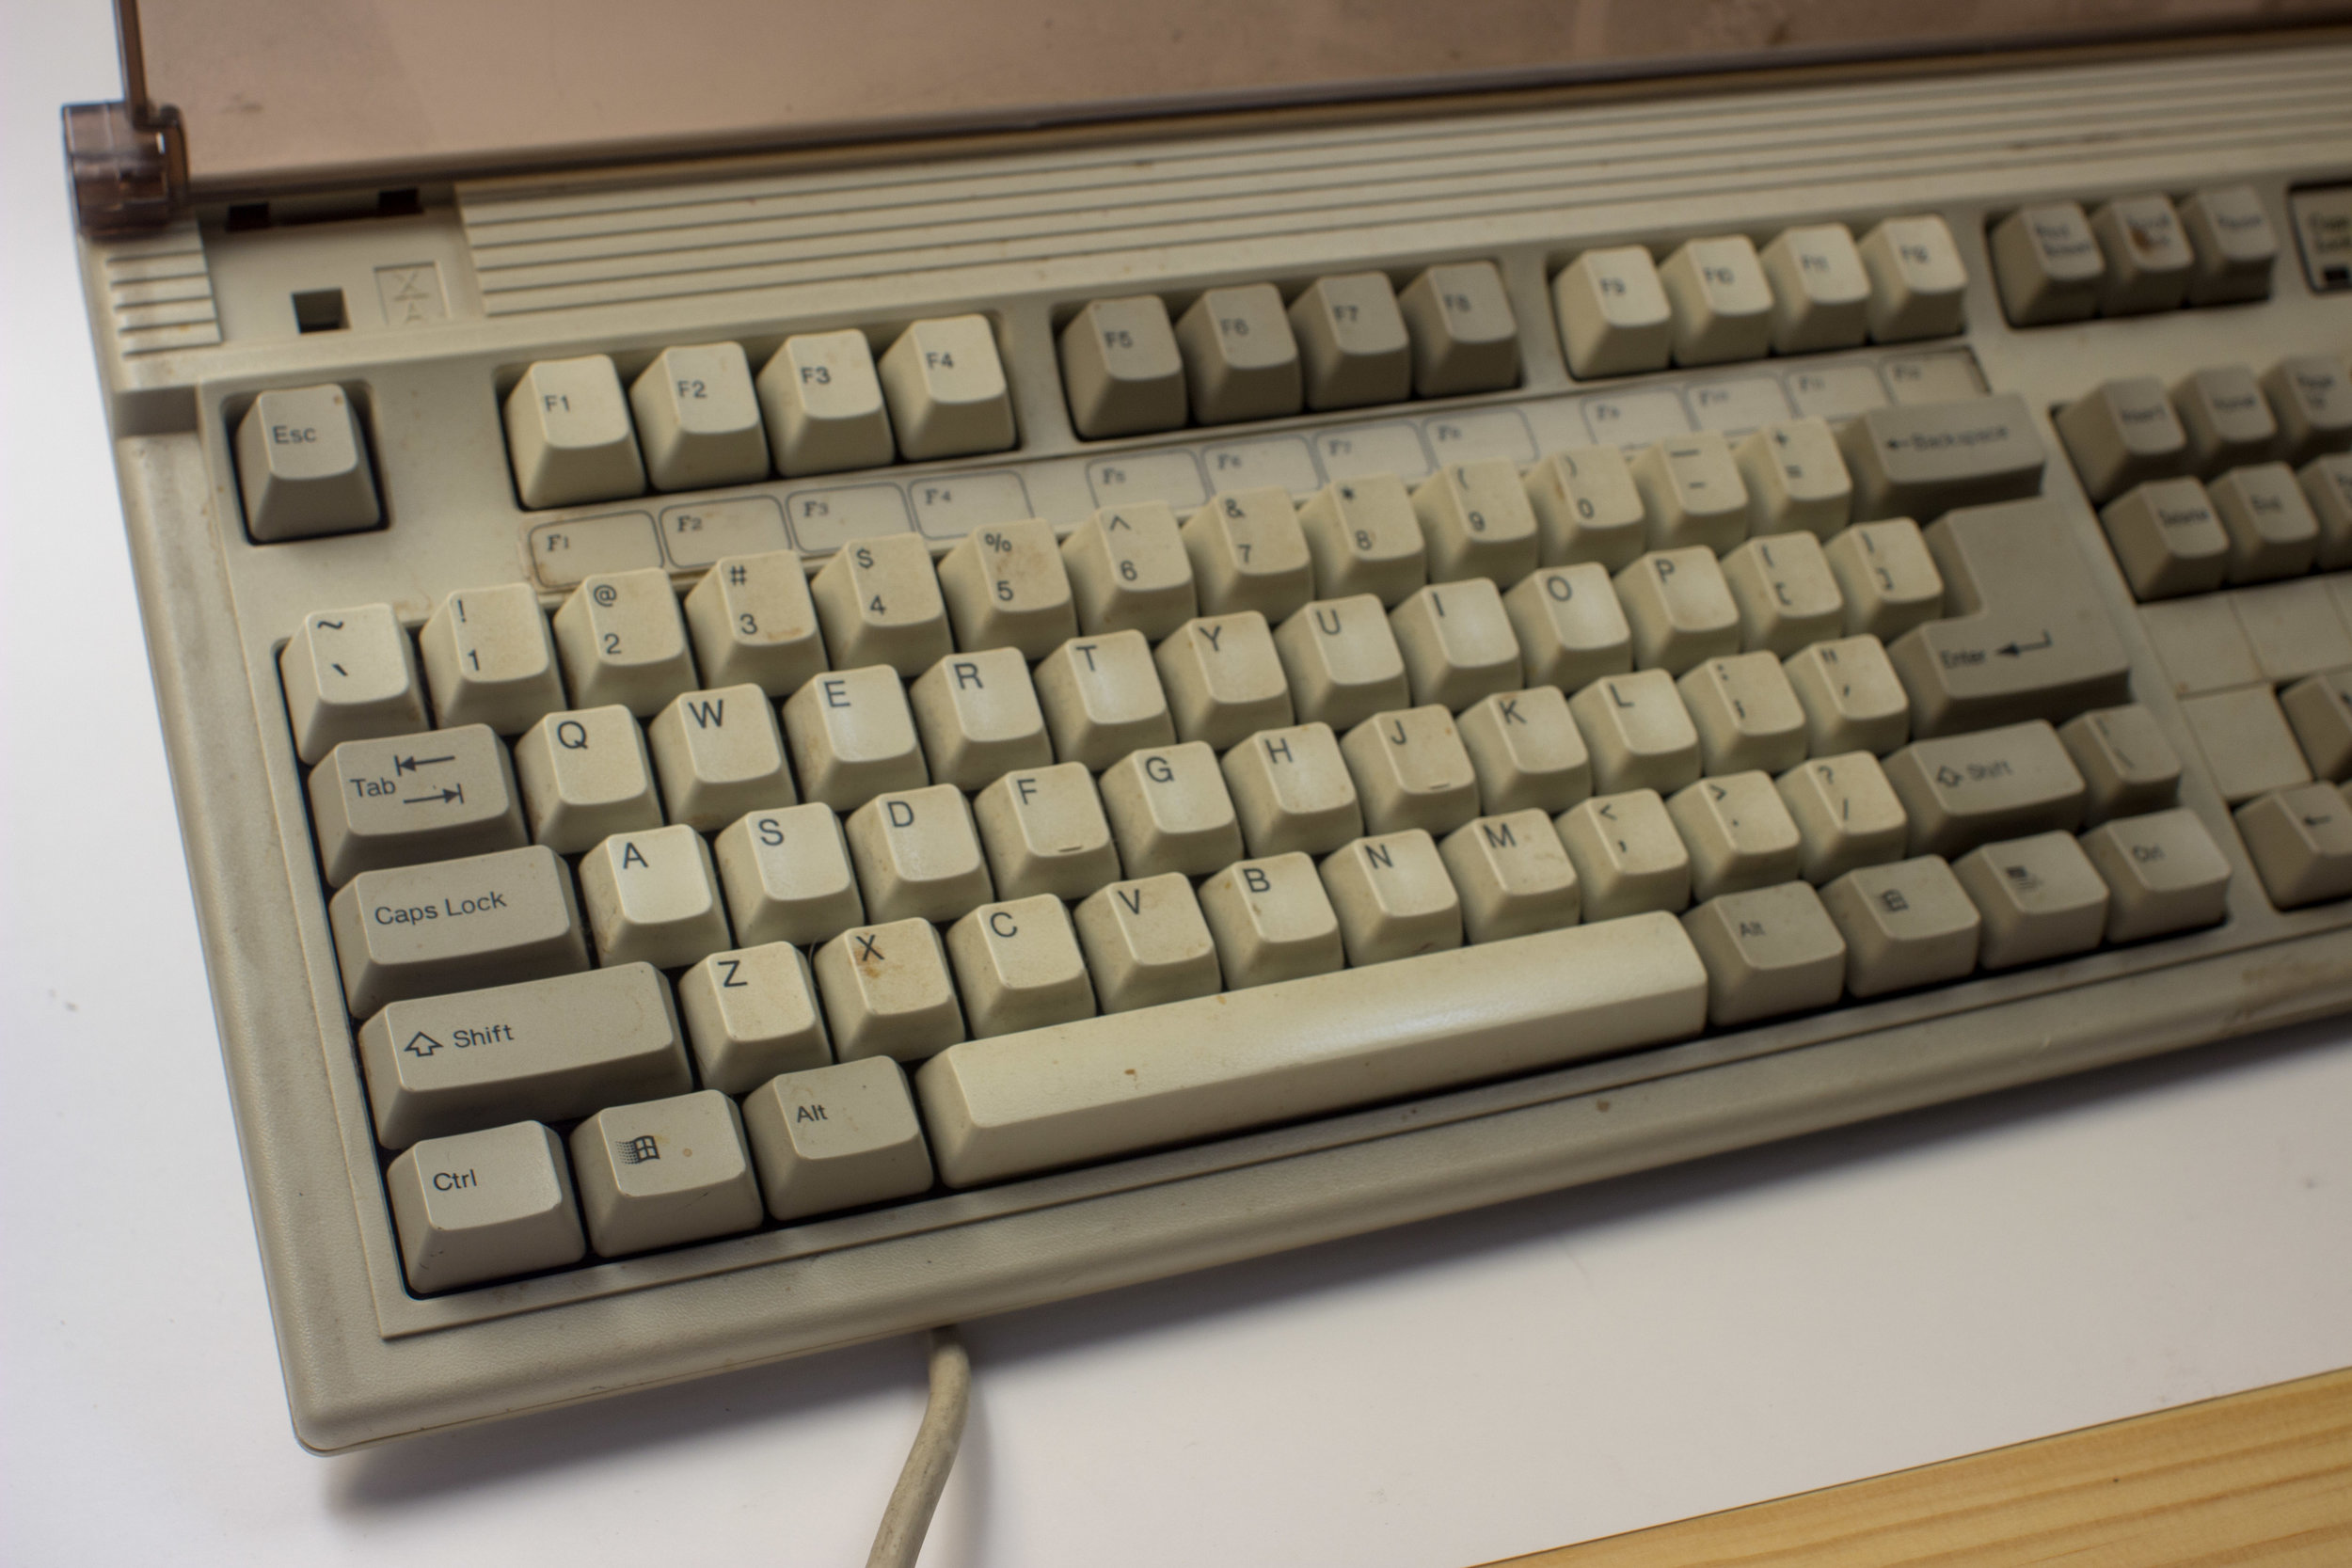
This beautiful disgusting monster showed up in the mail. It was cheap and for good reason: it was ugly, dirty, and it didn't work. Of course, I was instantly in love. How could I not be? Look at that glorious 80stastic dust cover. I hadn't seen that translucent brown plastic in probably twenty years but I was instantly taking back to my childhood.

Still, I didn't actually want to touch it. A couple of decades of grime and filth had built up on this thing. I had to wash my hands every time I handled it.
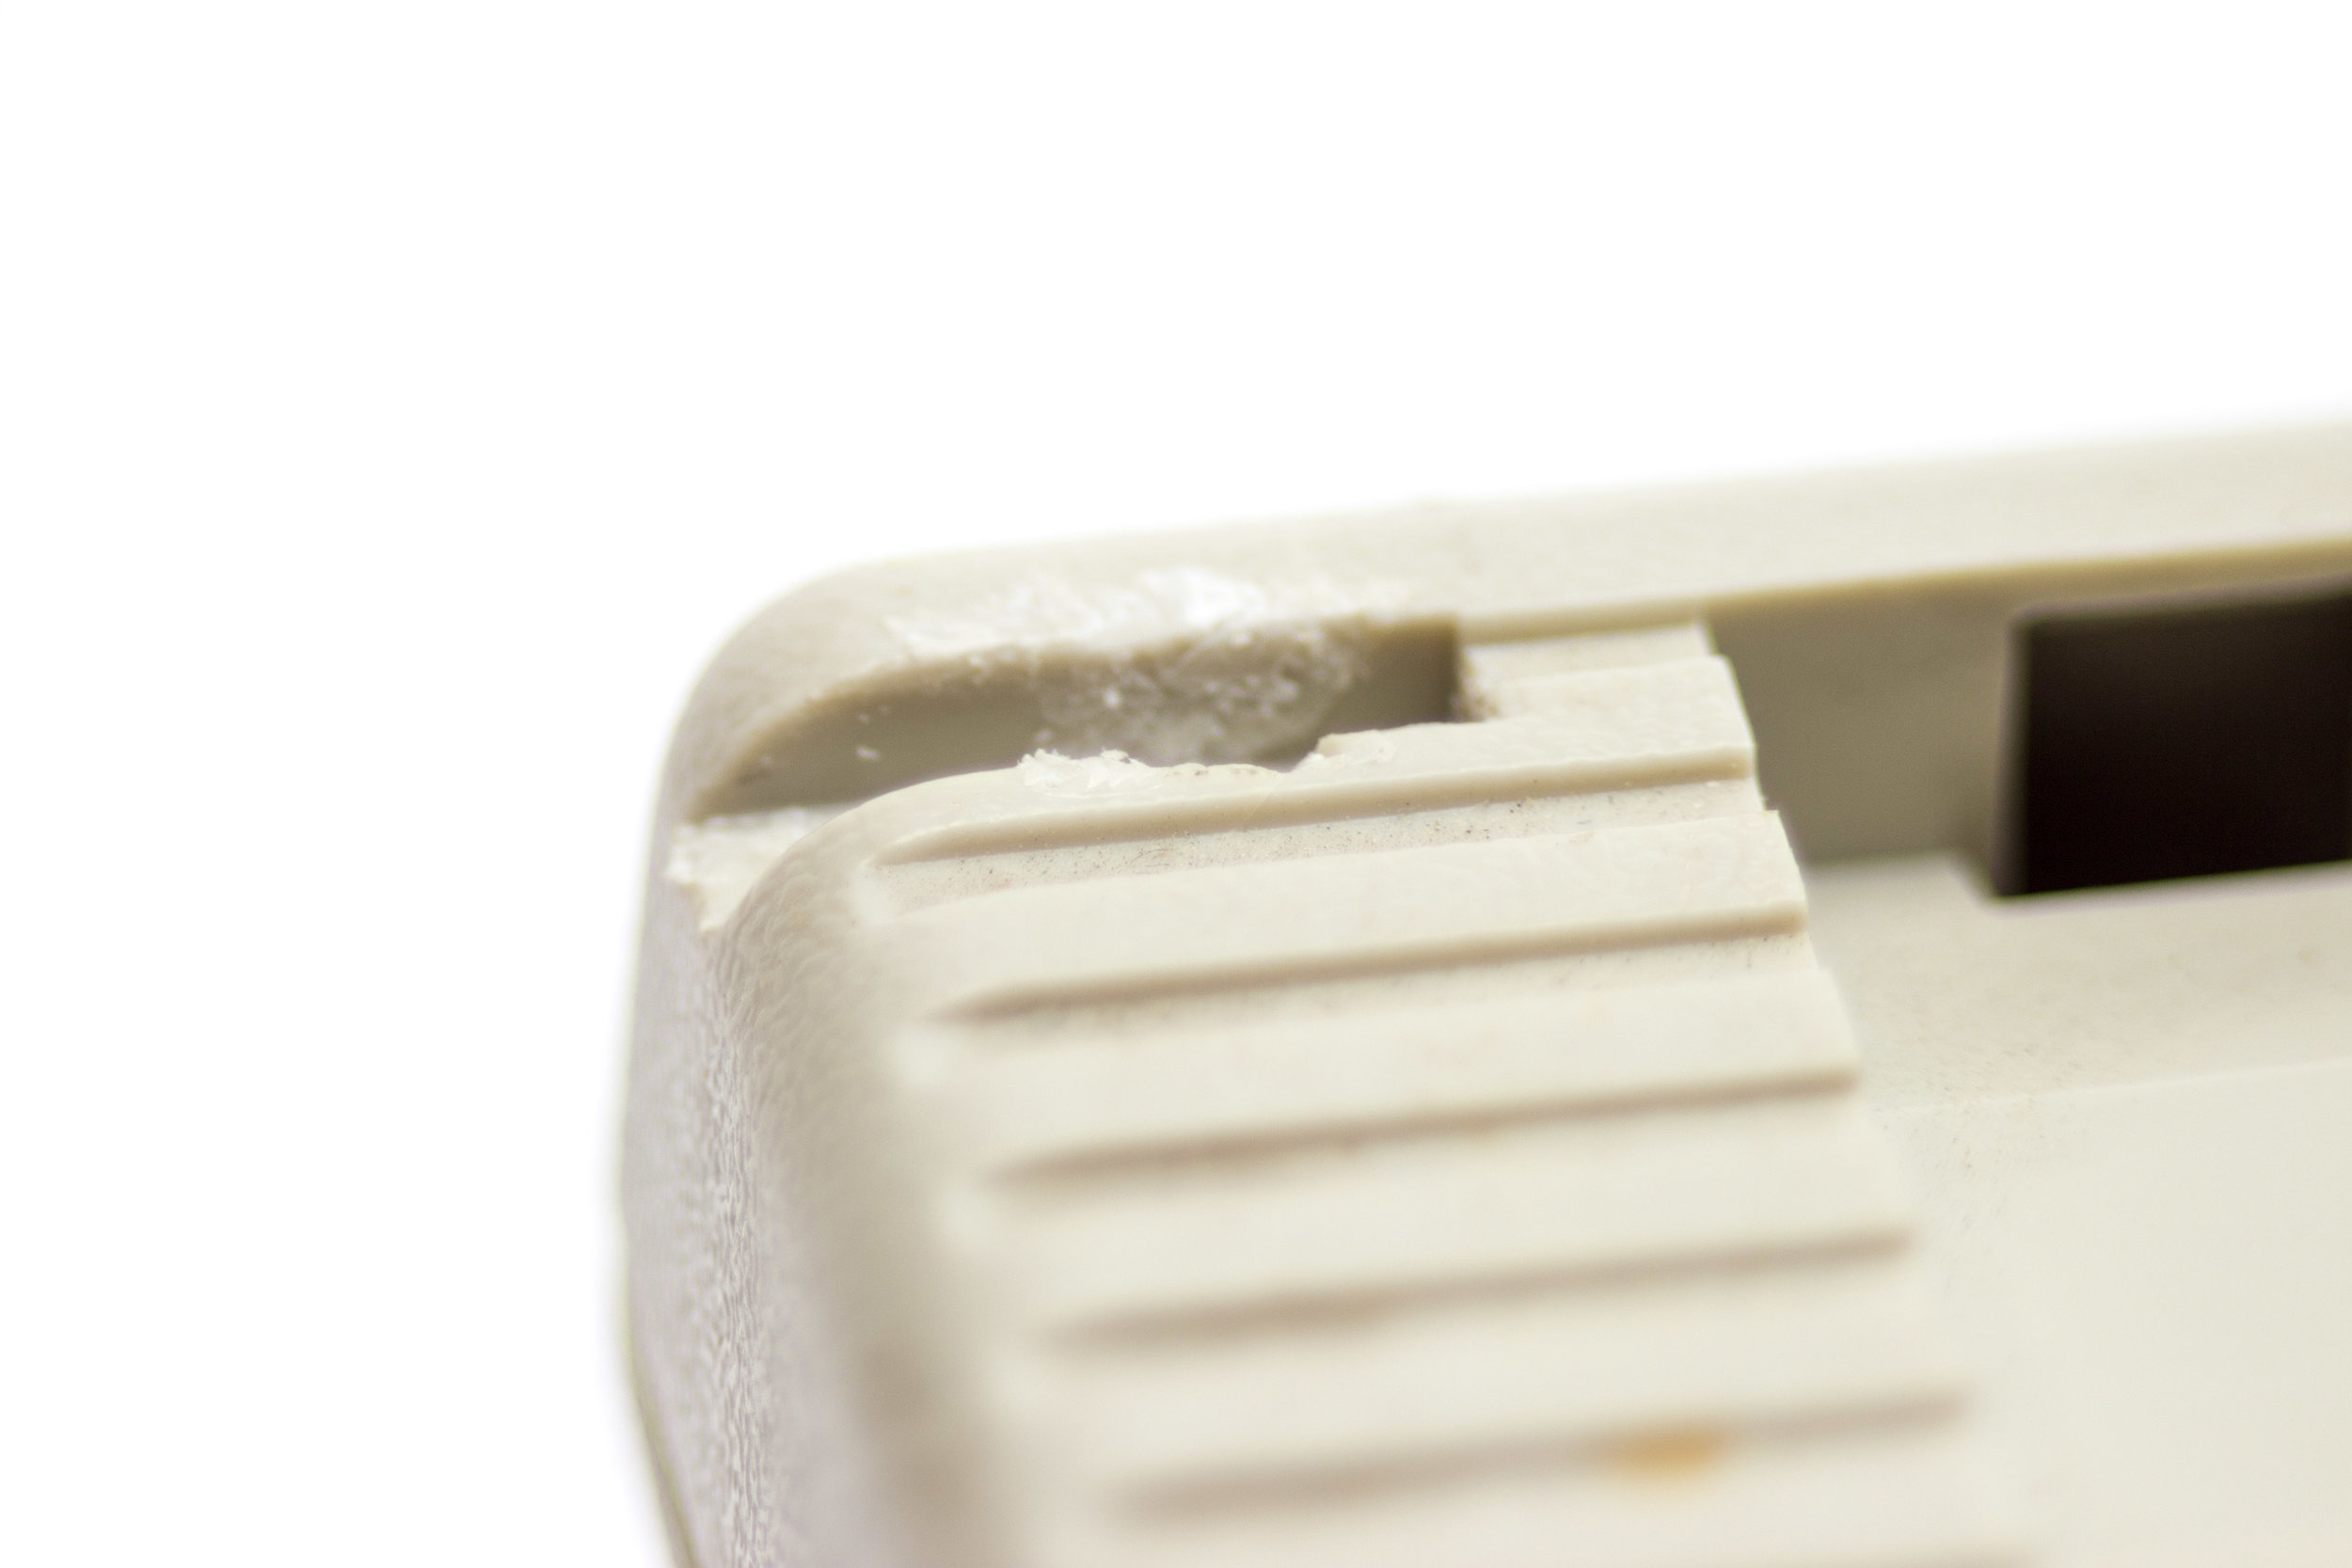
Of course, nothing is beyond saving if you're willing to put the effort in, and effort is what I'm about. First up was disassembly, but that presented a problem: I couldn't get the clips that held the dust cover on. Try as I might they were stuck fast. They were keeping the two halves of the plastic shell held together too, so I needed them gone.

It took a pair of vice grips and a scary amount of force to get them removed. Once I got a good look, I realized the trouble. Some nitwit had dabbed some cyanoacrylate glue in there. No wonder I had trouble. One even took a chip of plastic out of the case when it left.
With the clips removed, the case came apart just by popping three clips at the back of the case. Things were just as bad inside.

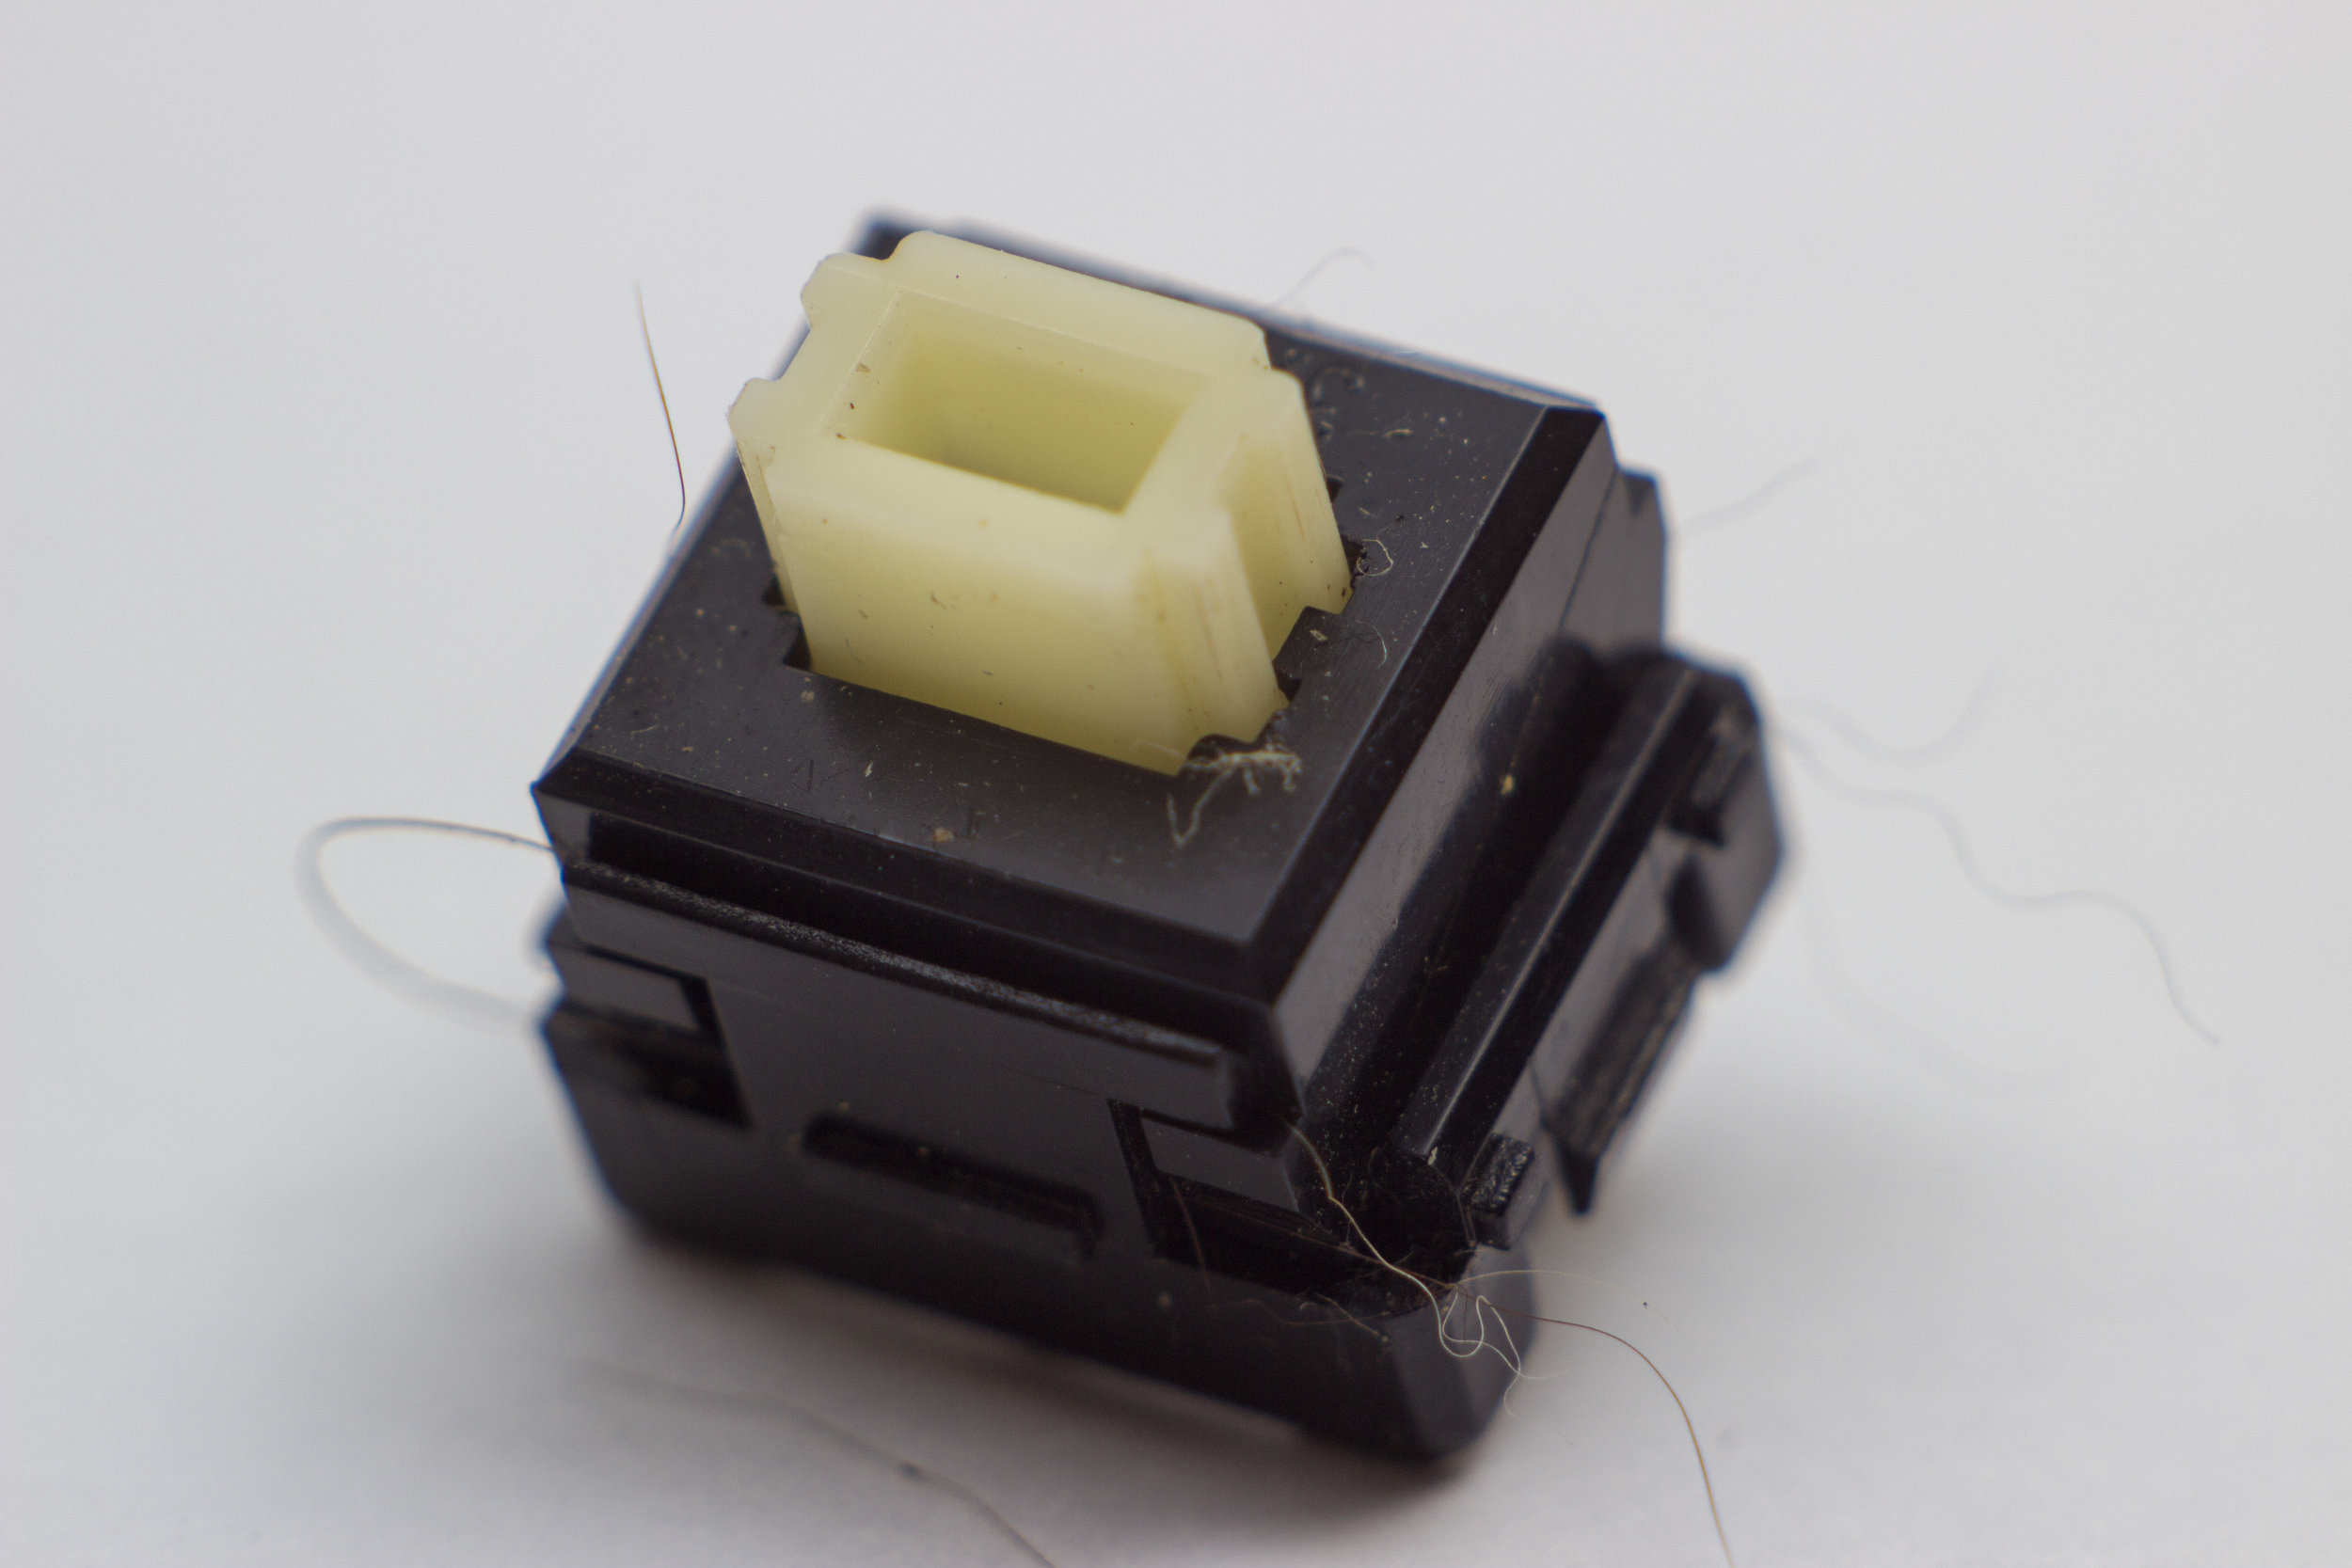
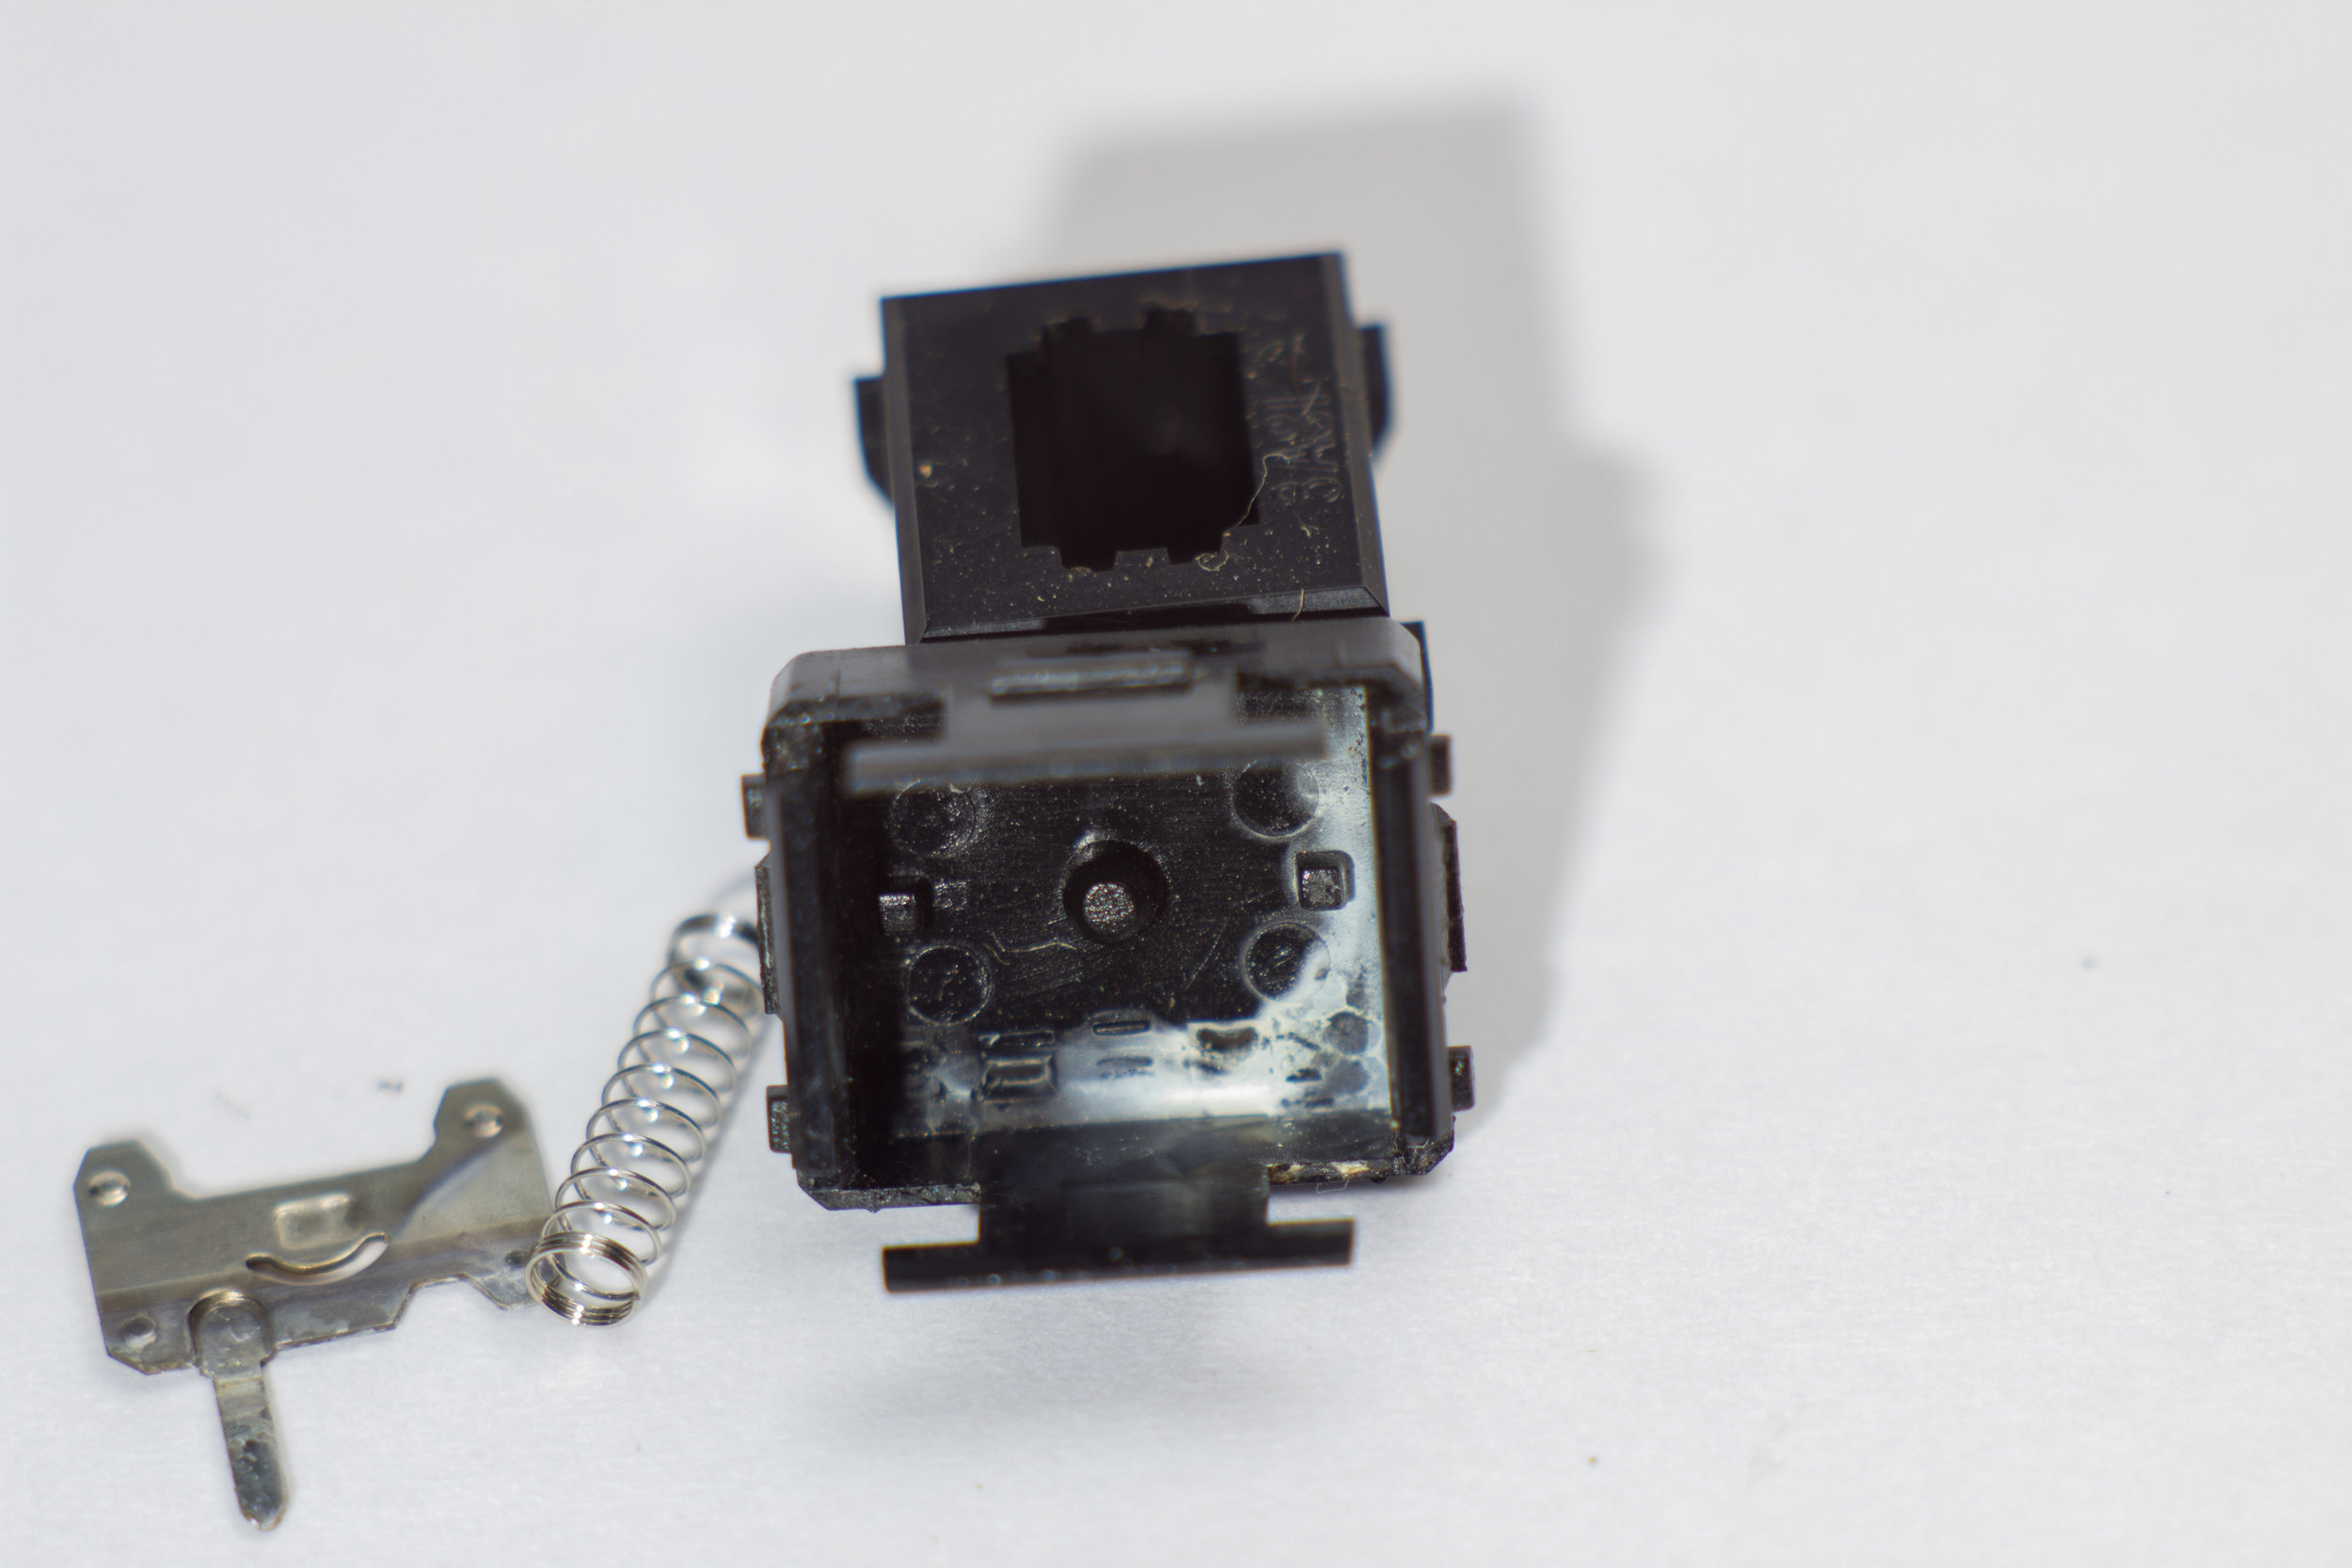
A thorough vacuuming was in order. A lot of restoration efforts can stop here, but this keyboard needed more. A lot more. The switches it came with were a set of Alps SKCM clones dubbed Type T1 by the community.

They didn't feel too bad, but the real kicker was that somewhere between a quarter and a third of the keys no longer worked. It wasn't going to go through the trouble of fixing something with a switch as ignominious as these. They all had to go.
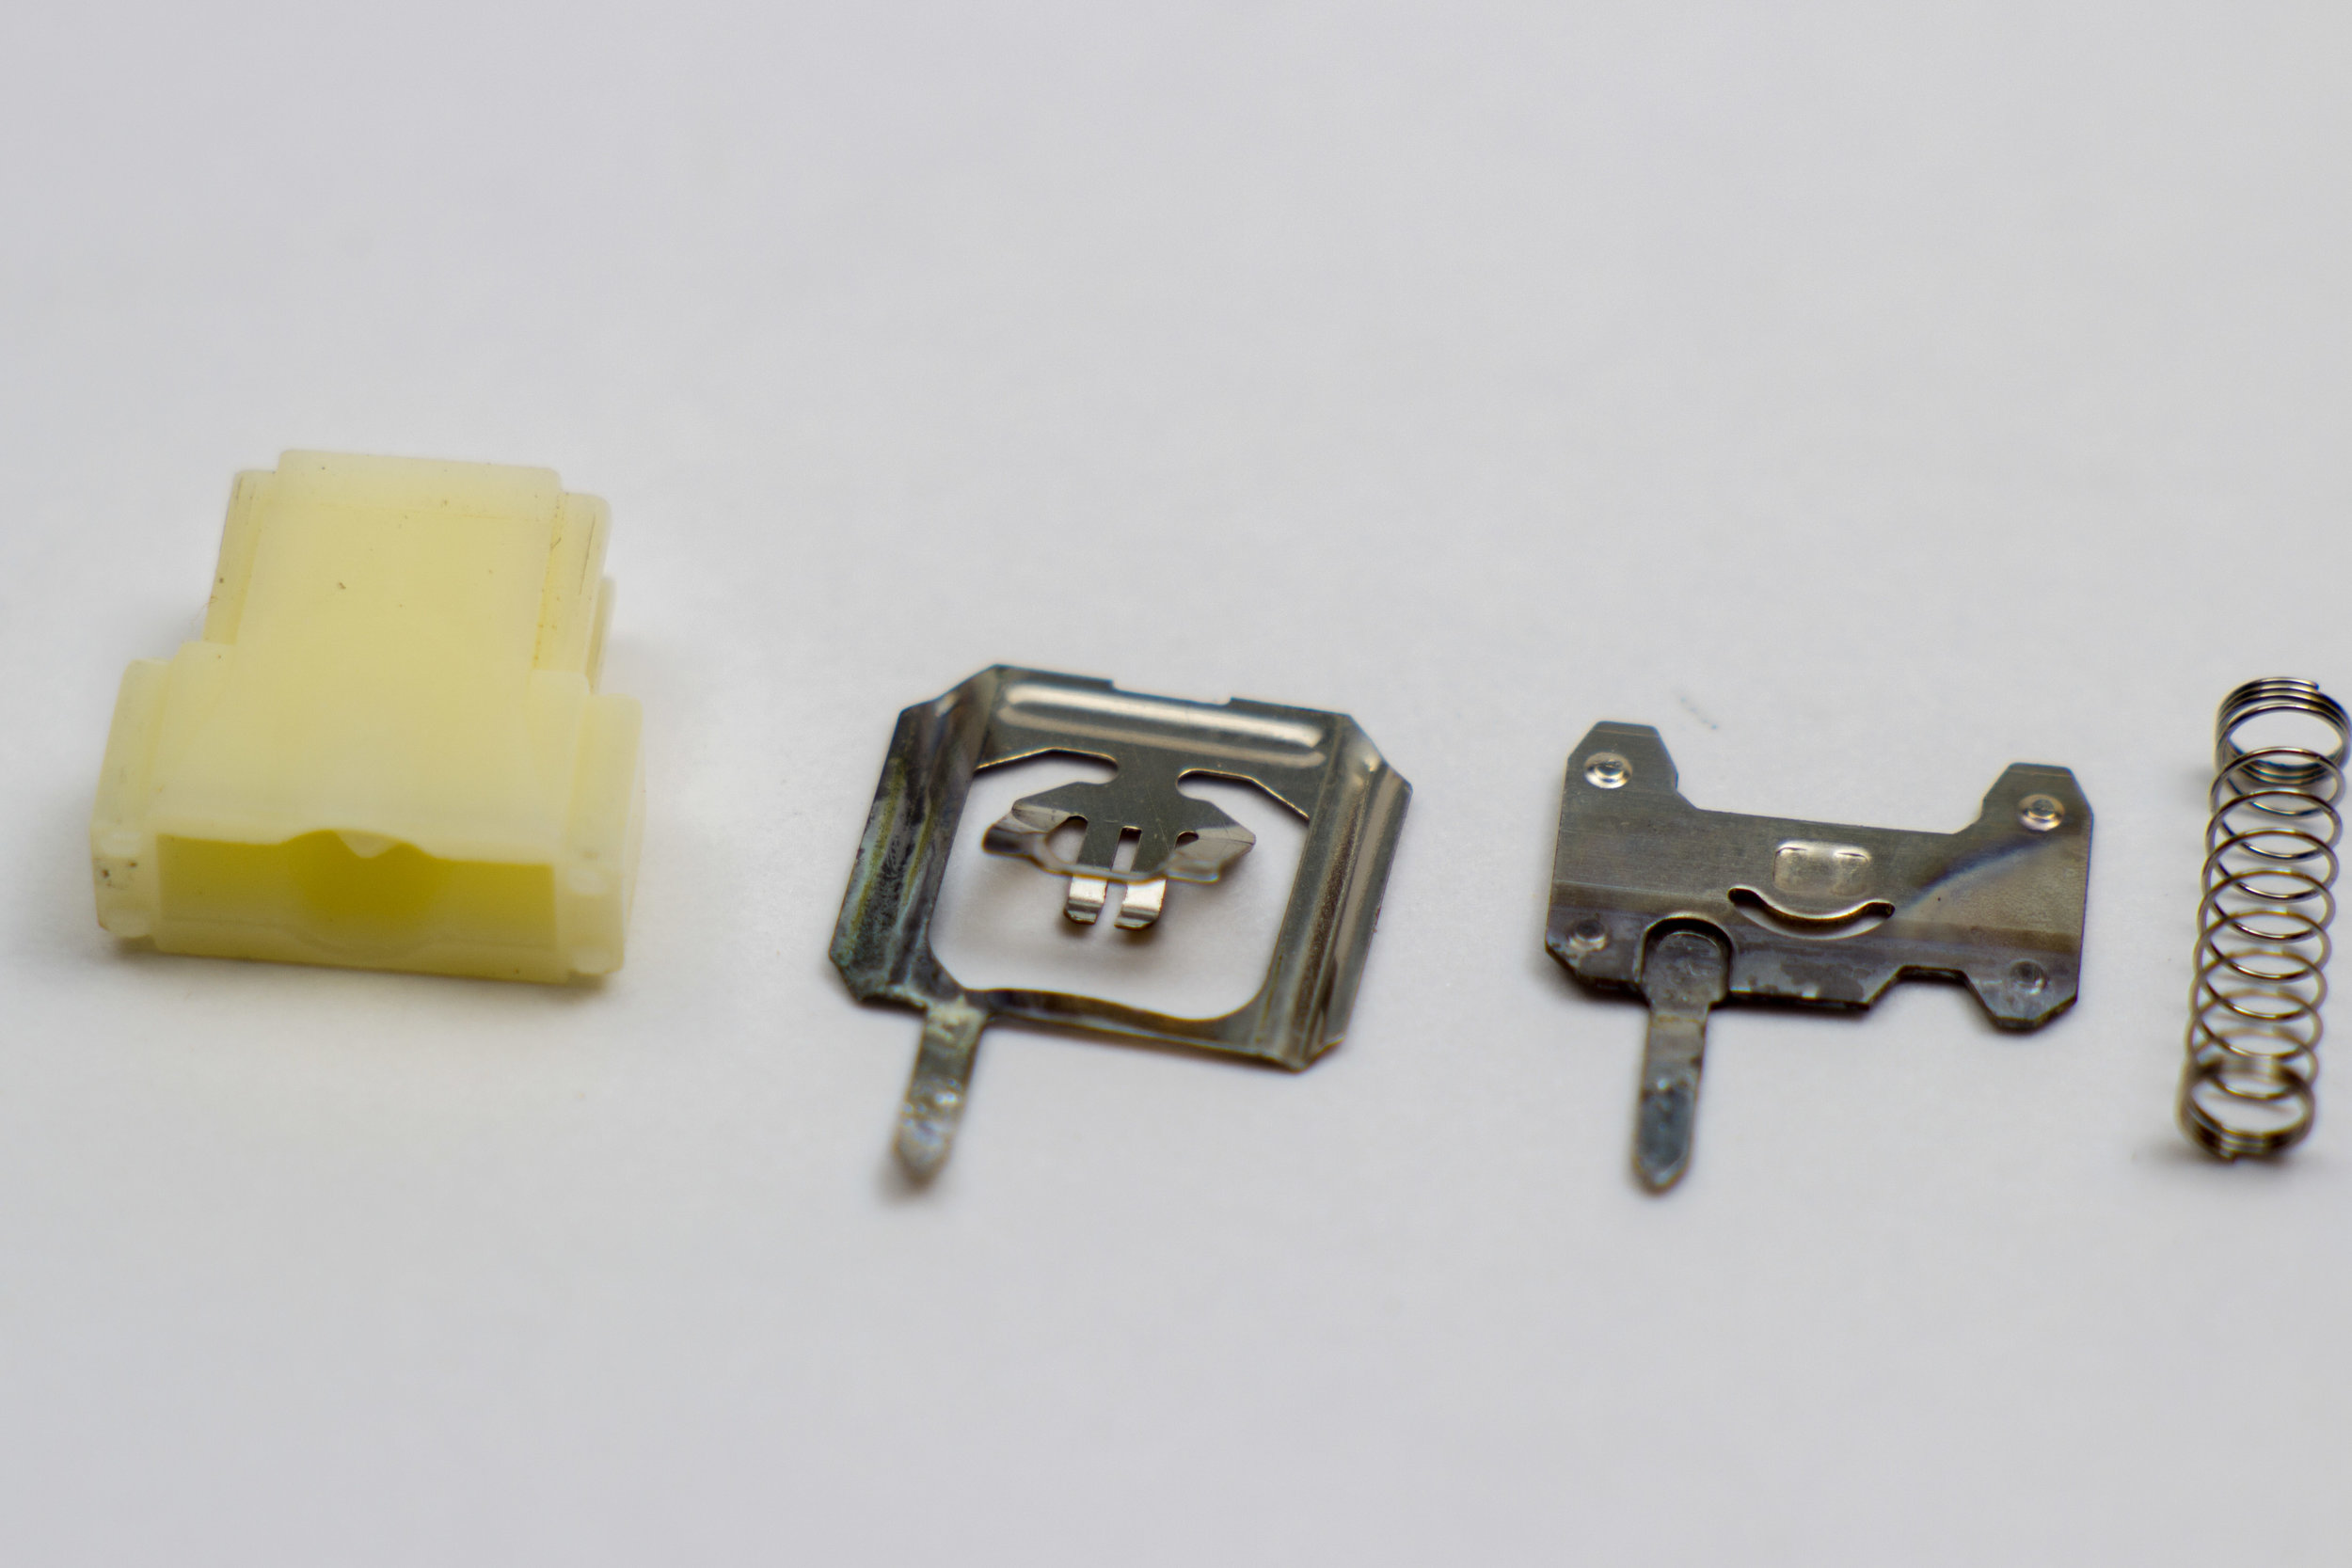
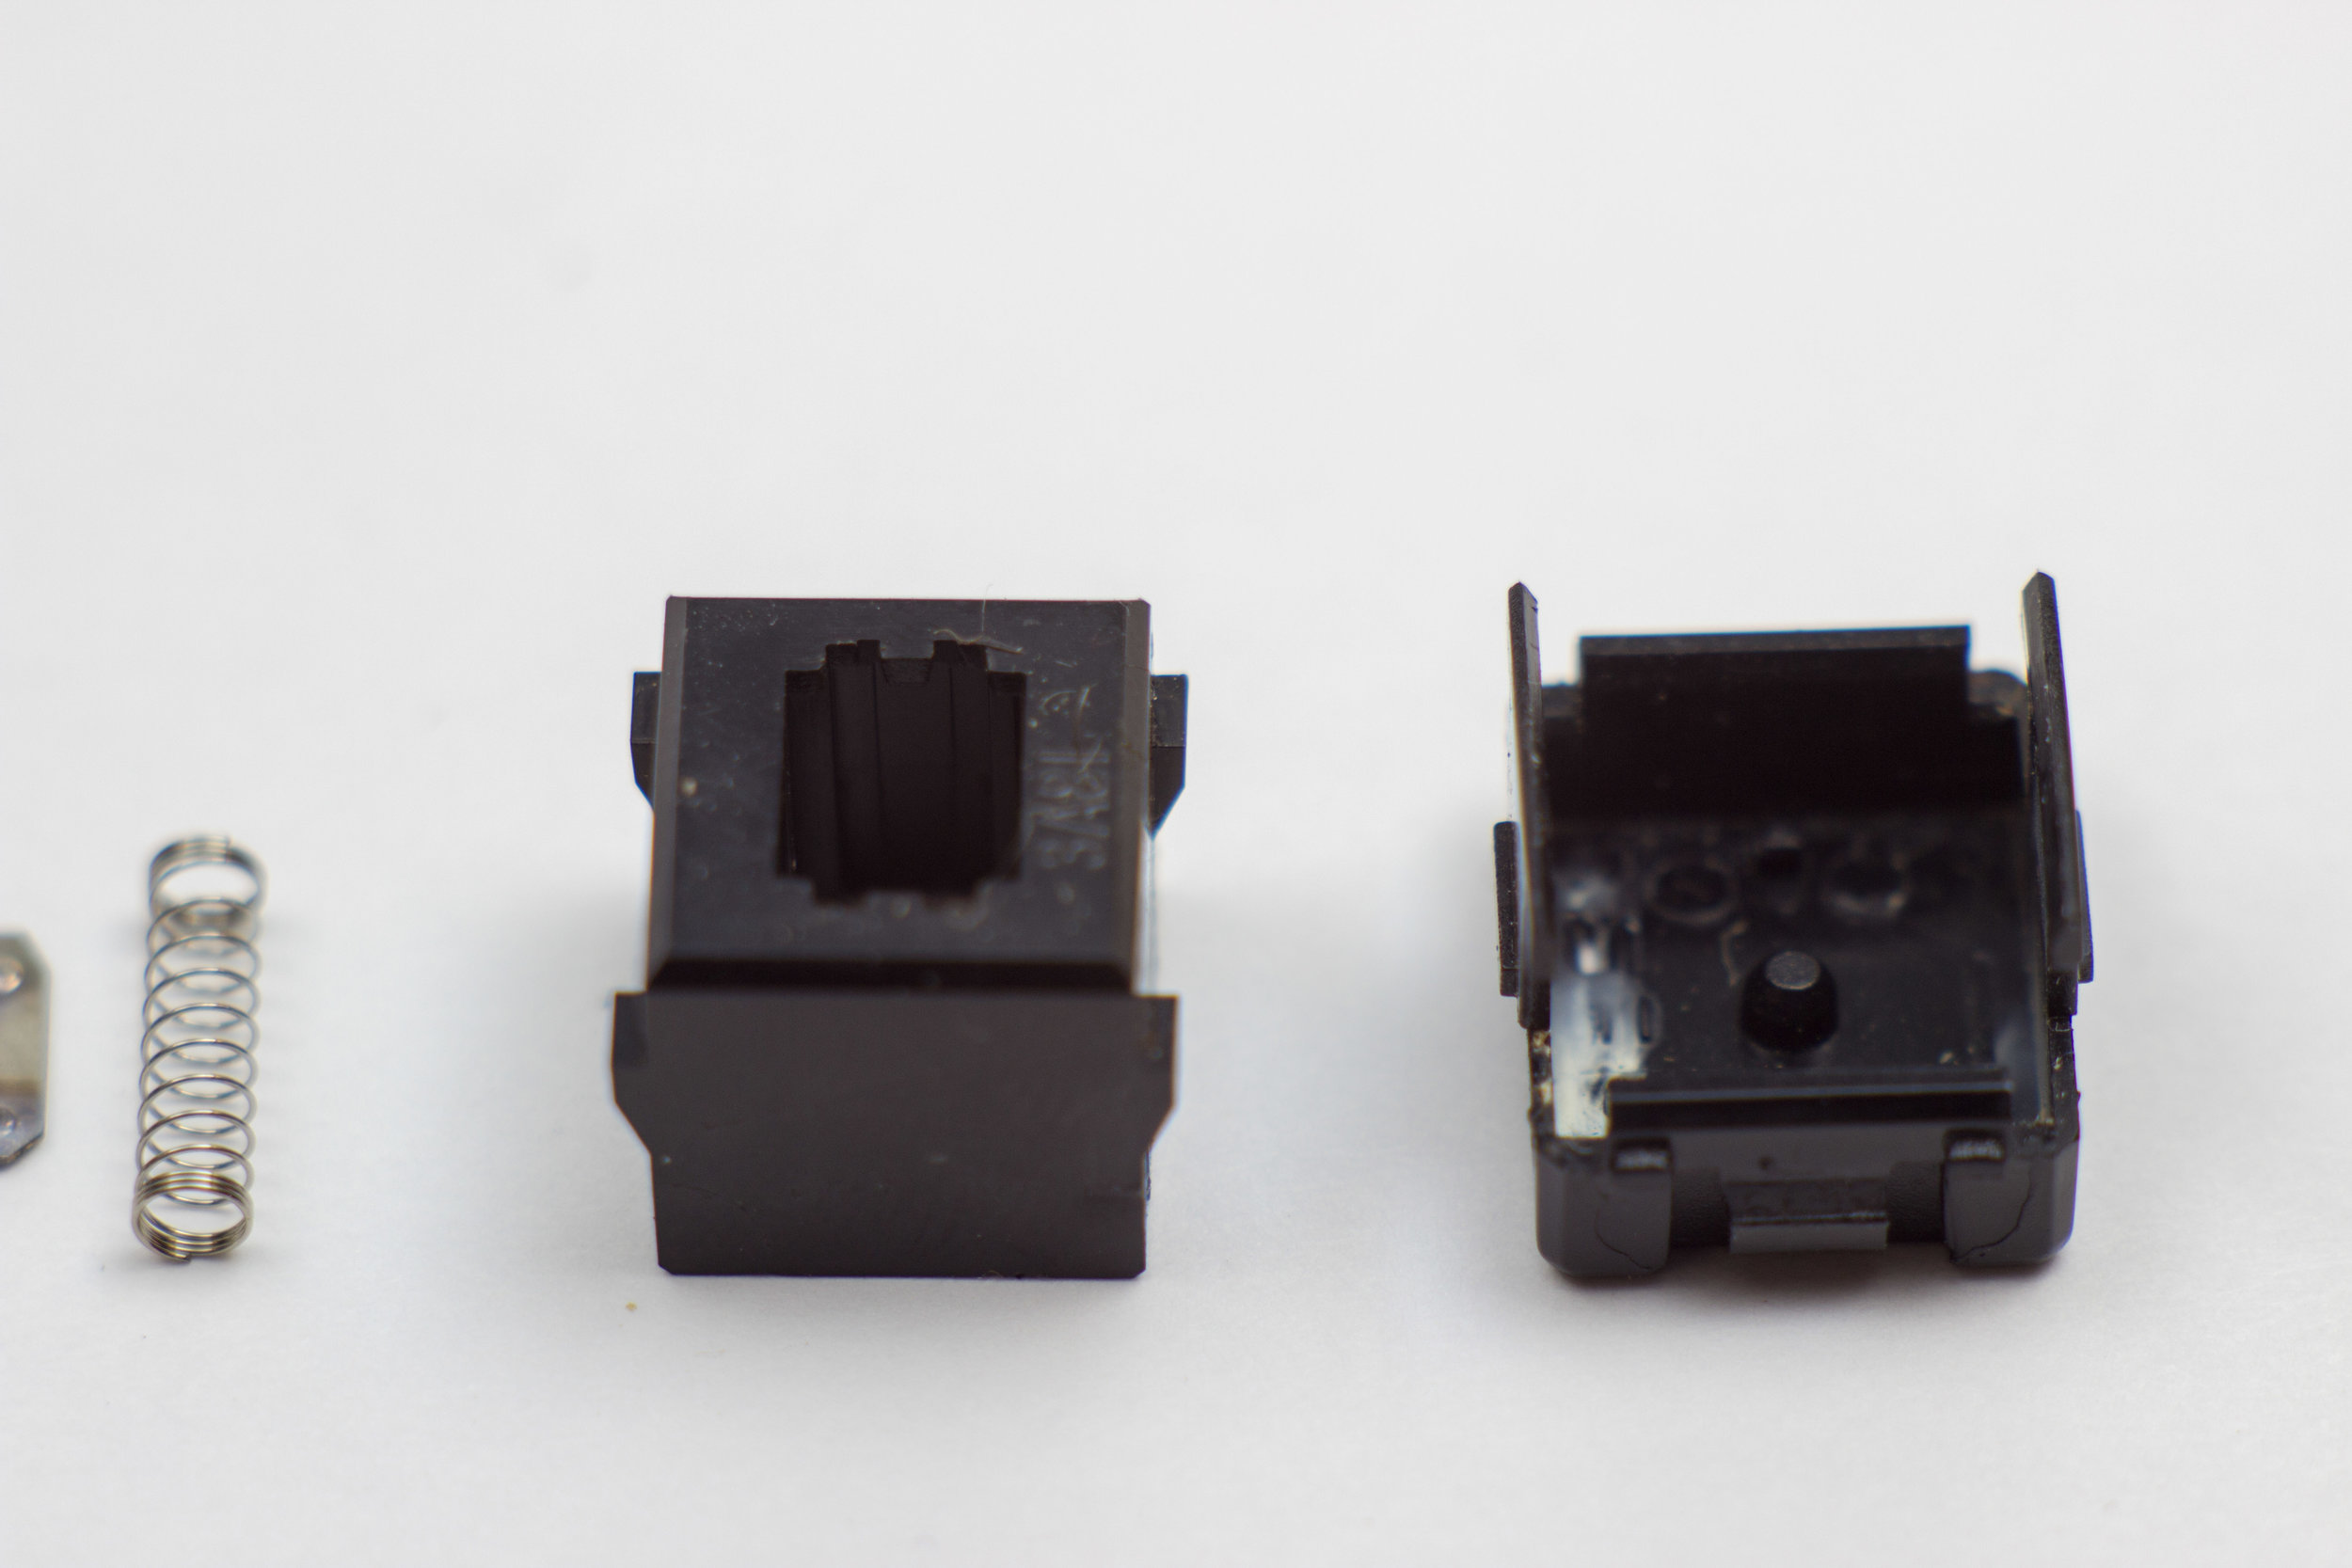
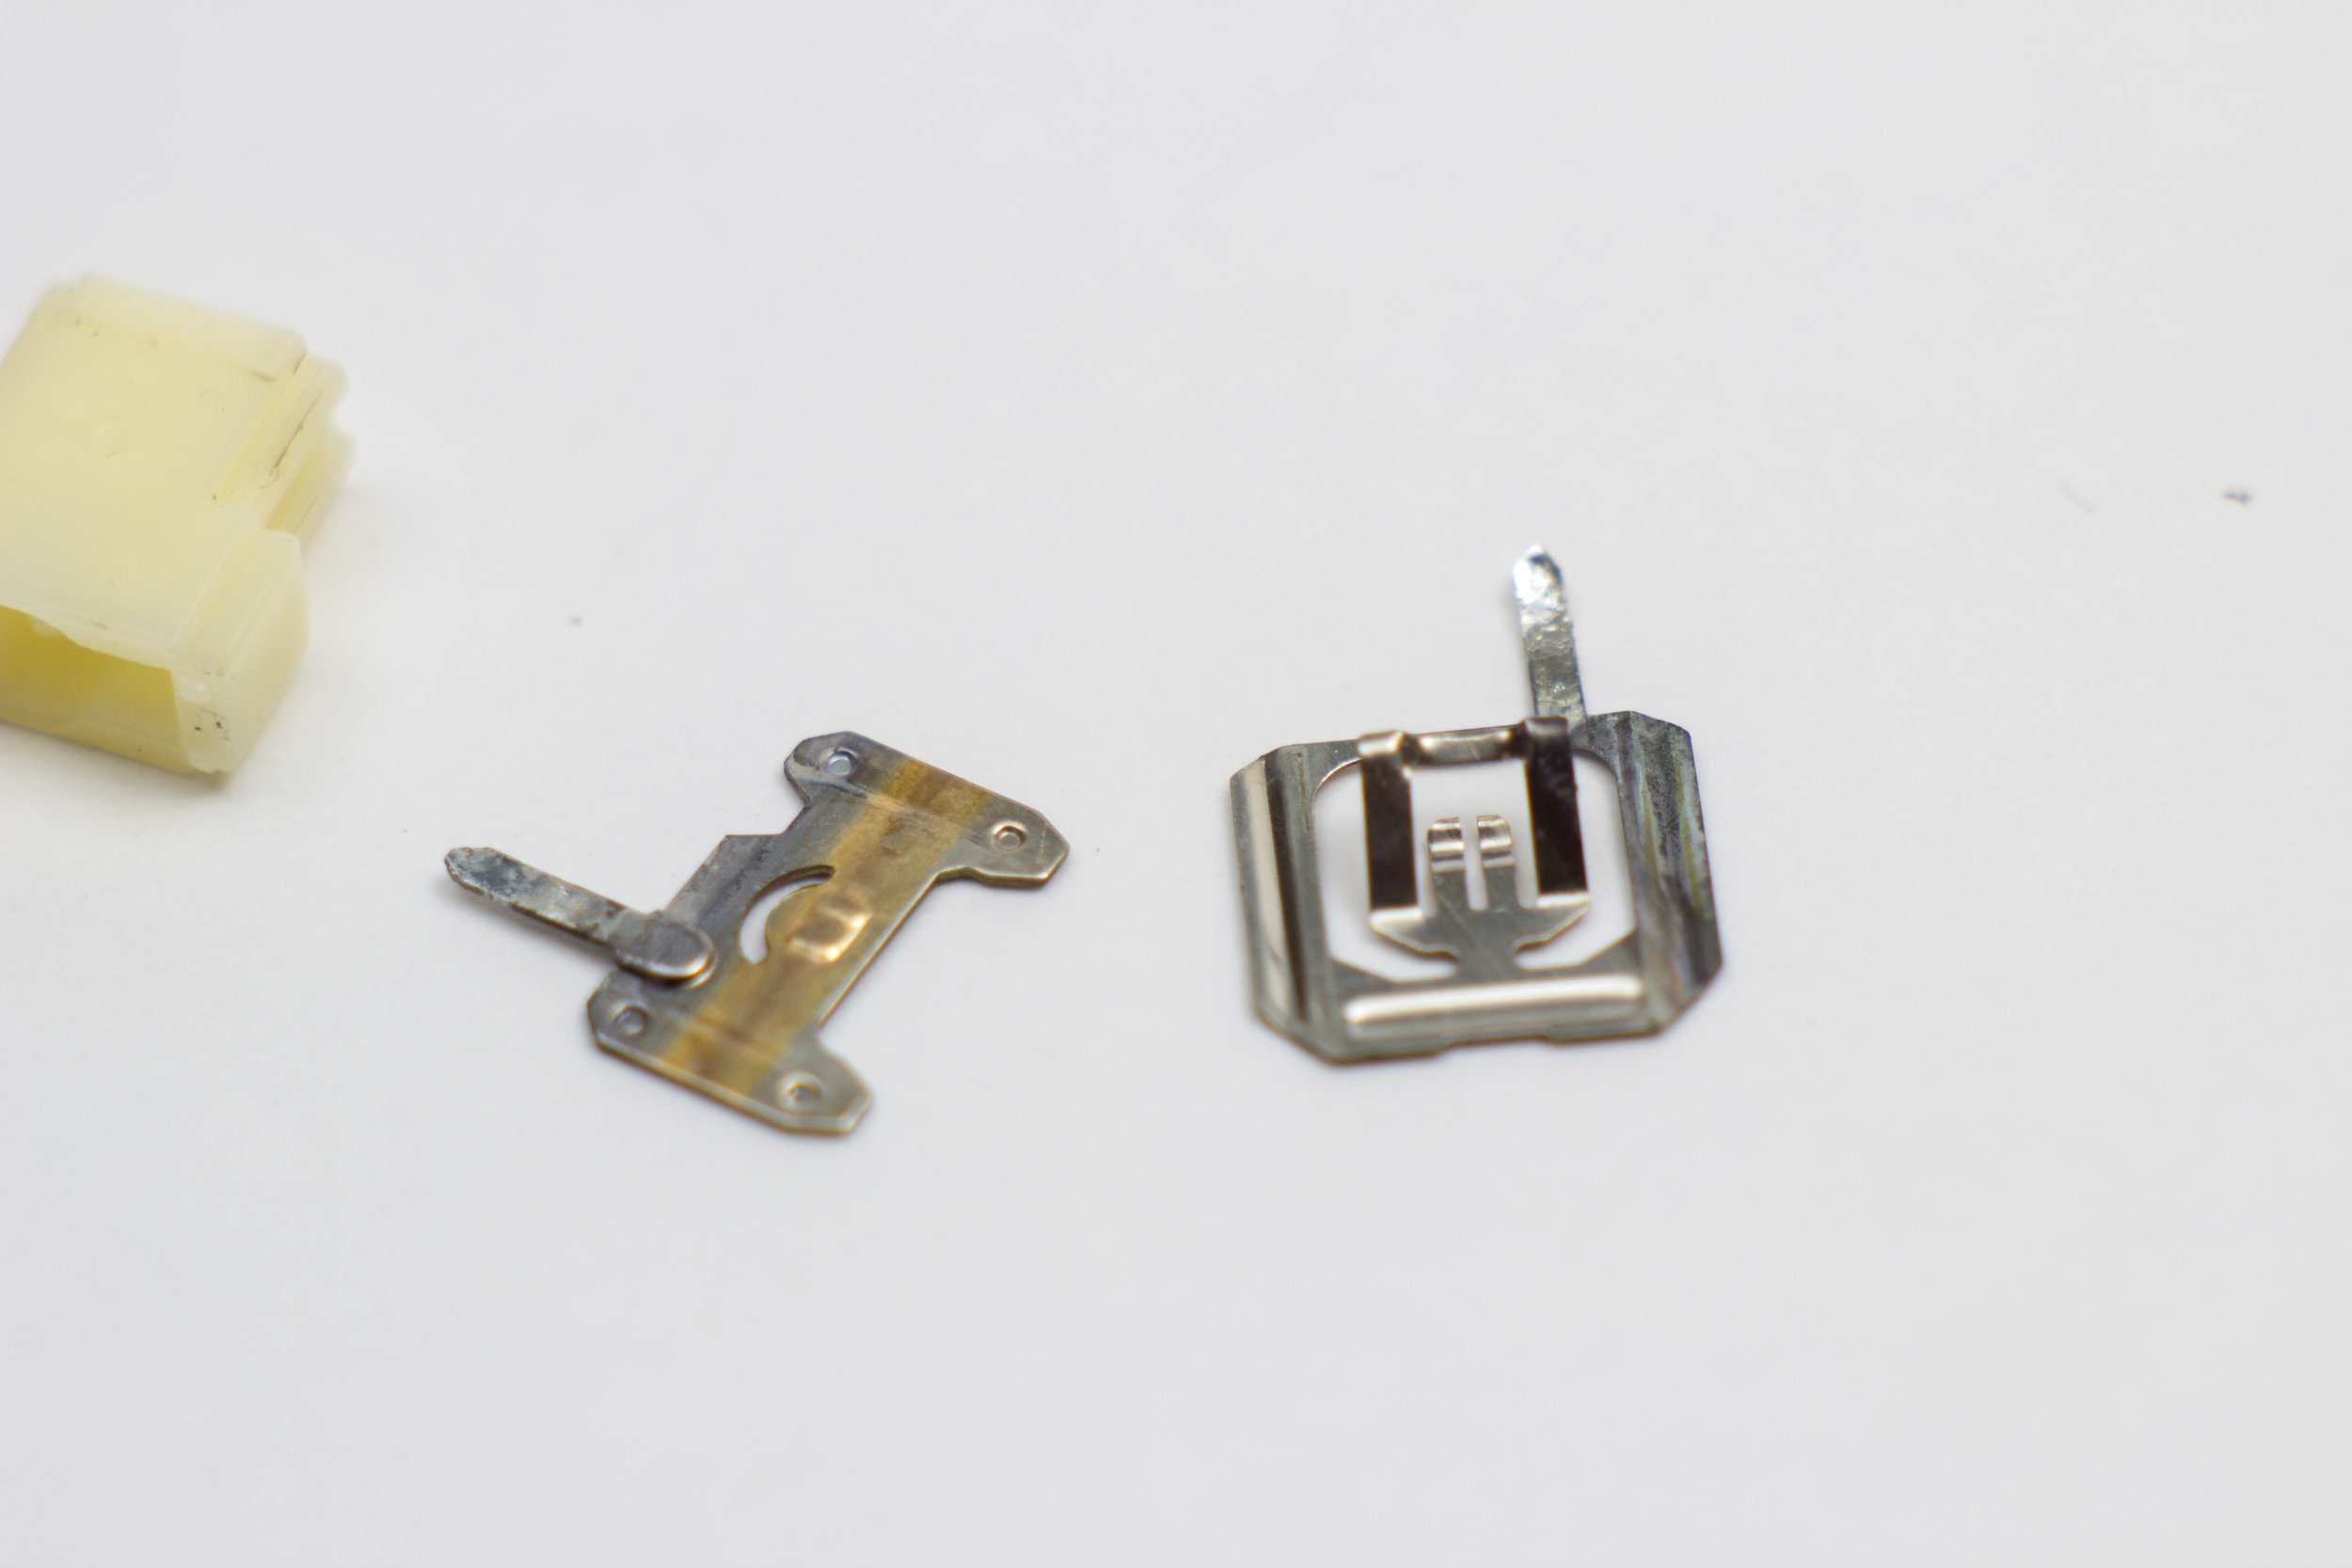
Luckily, I find desoldering a rather meditative activity. It wasn't long before I had this thing broken down to it's component parts. When I pulled some the switches apart, I found them filled with a mystery white residue. That may have been the trouble.
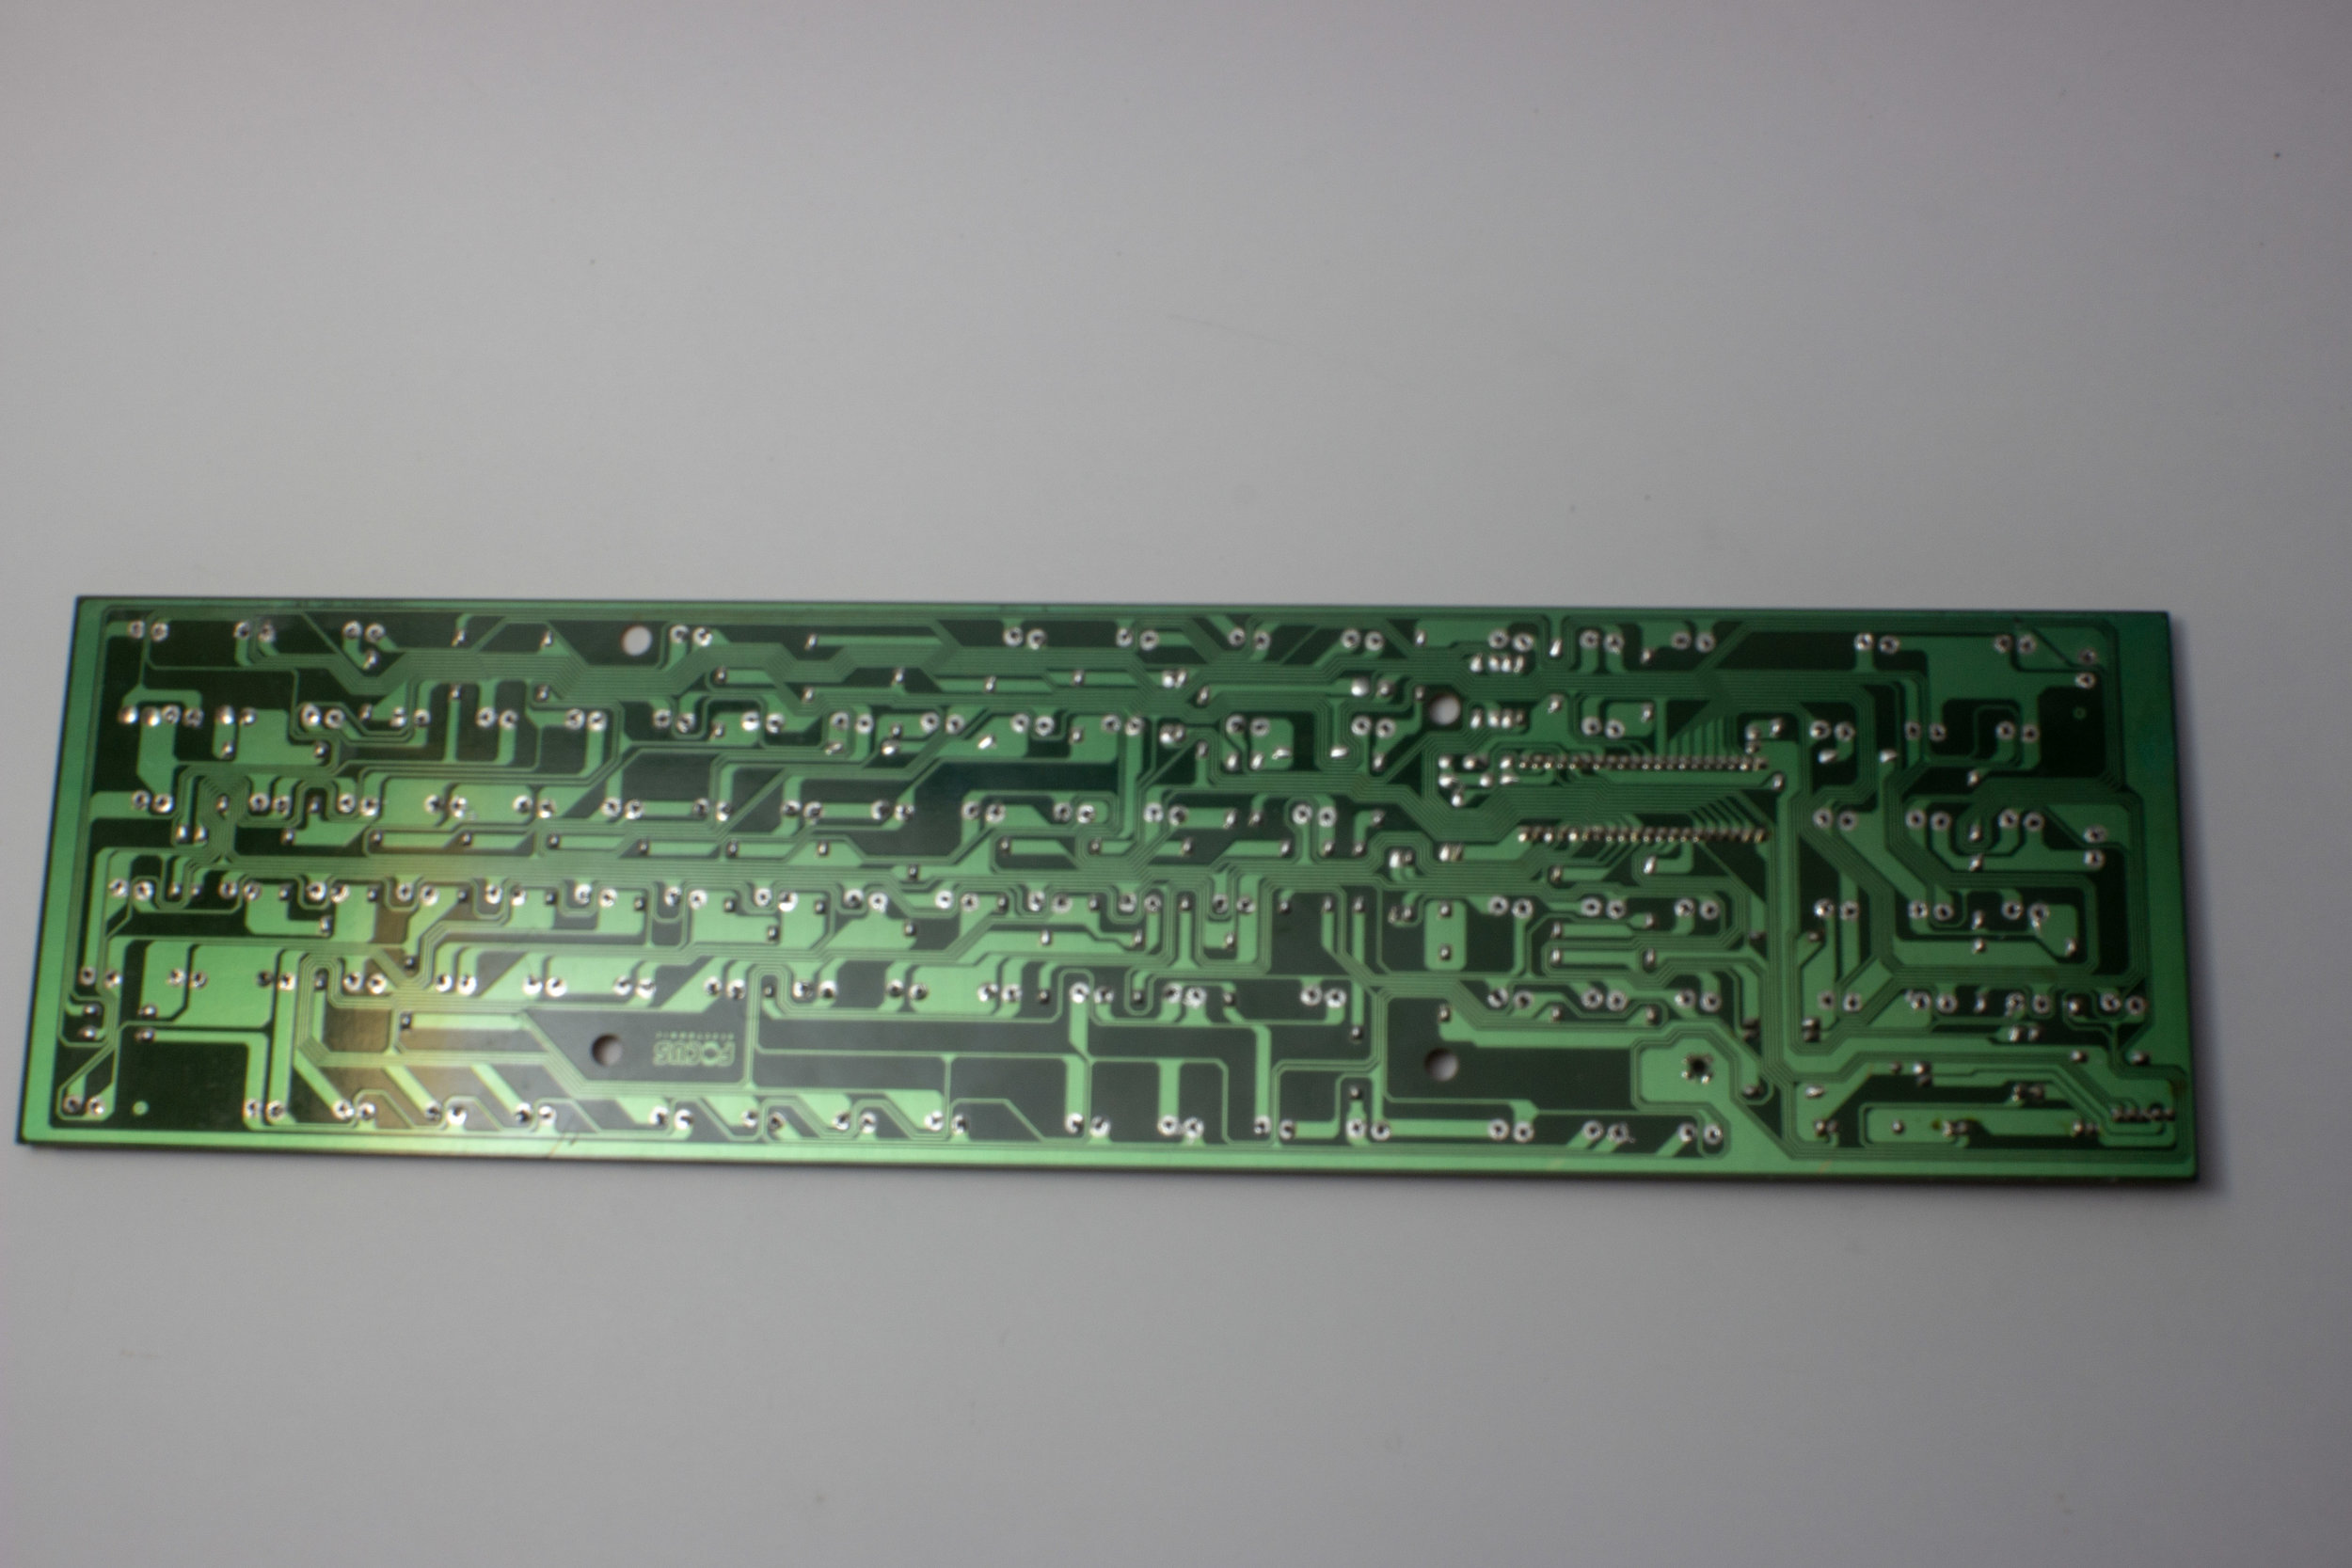
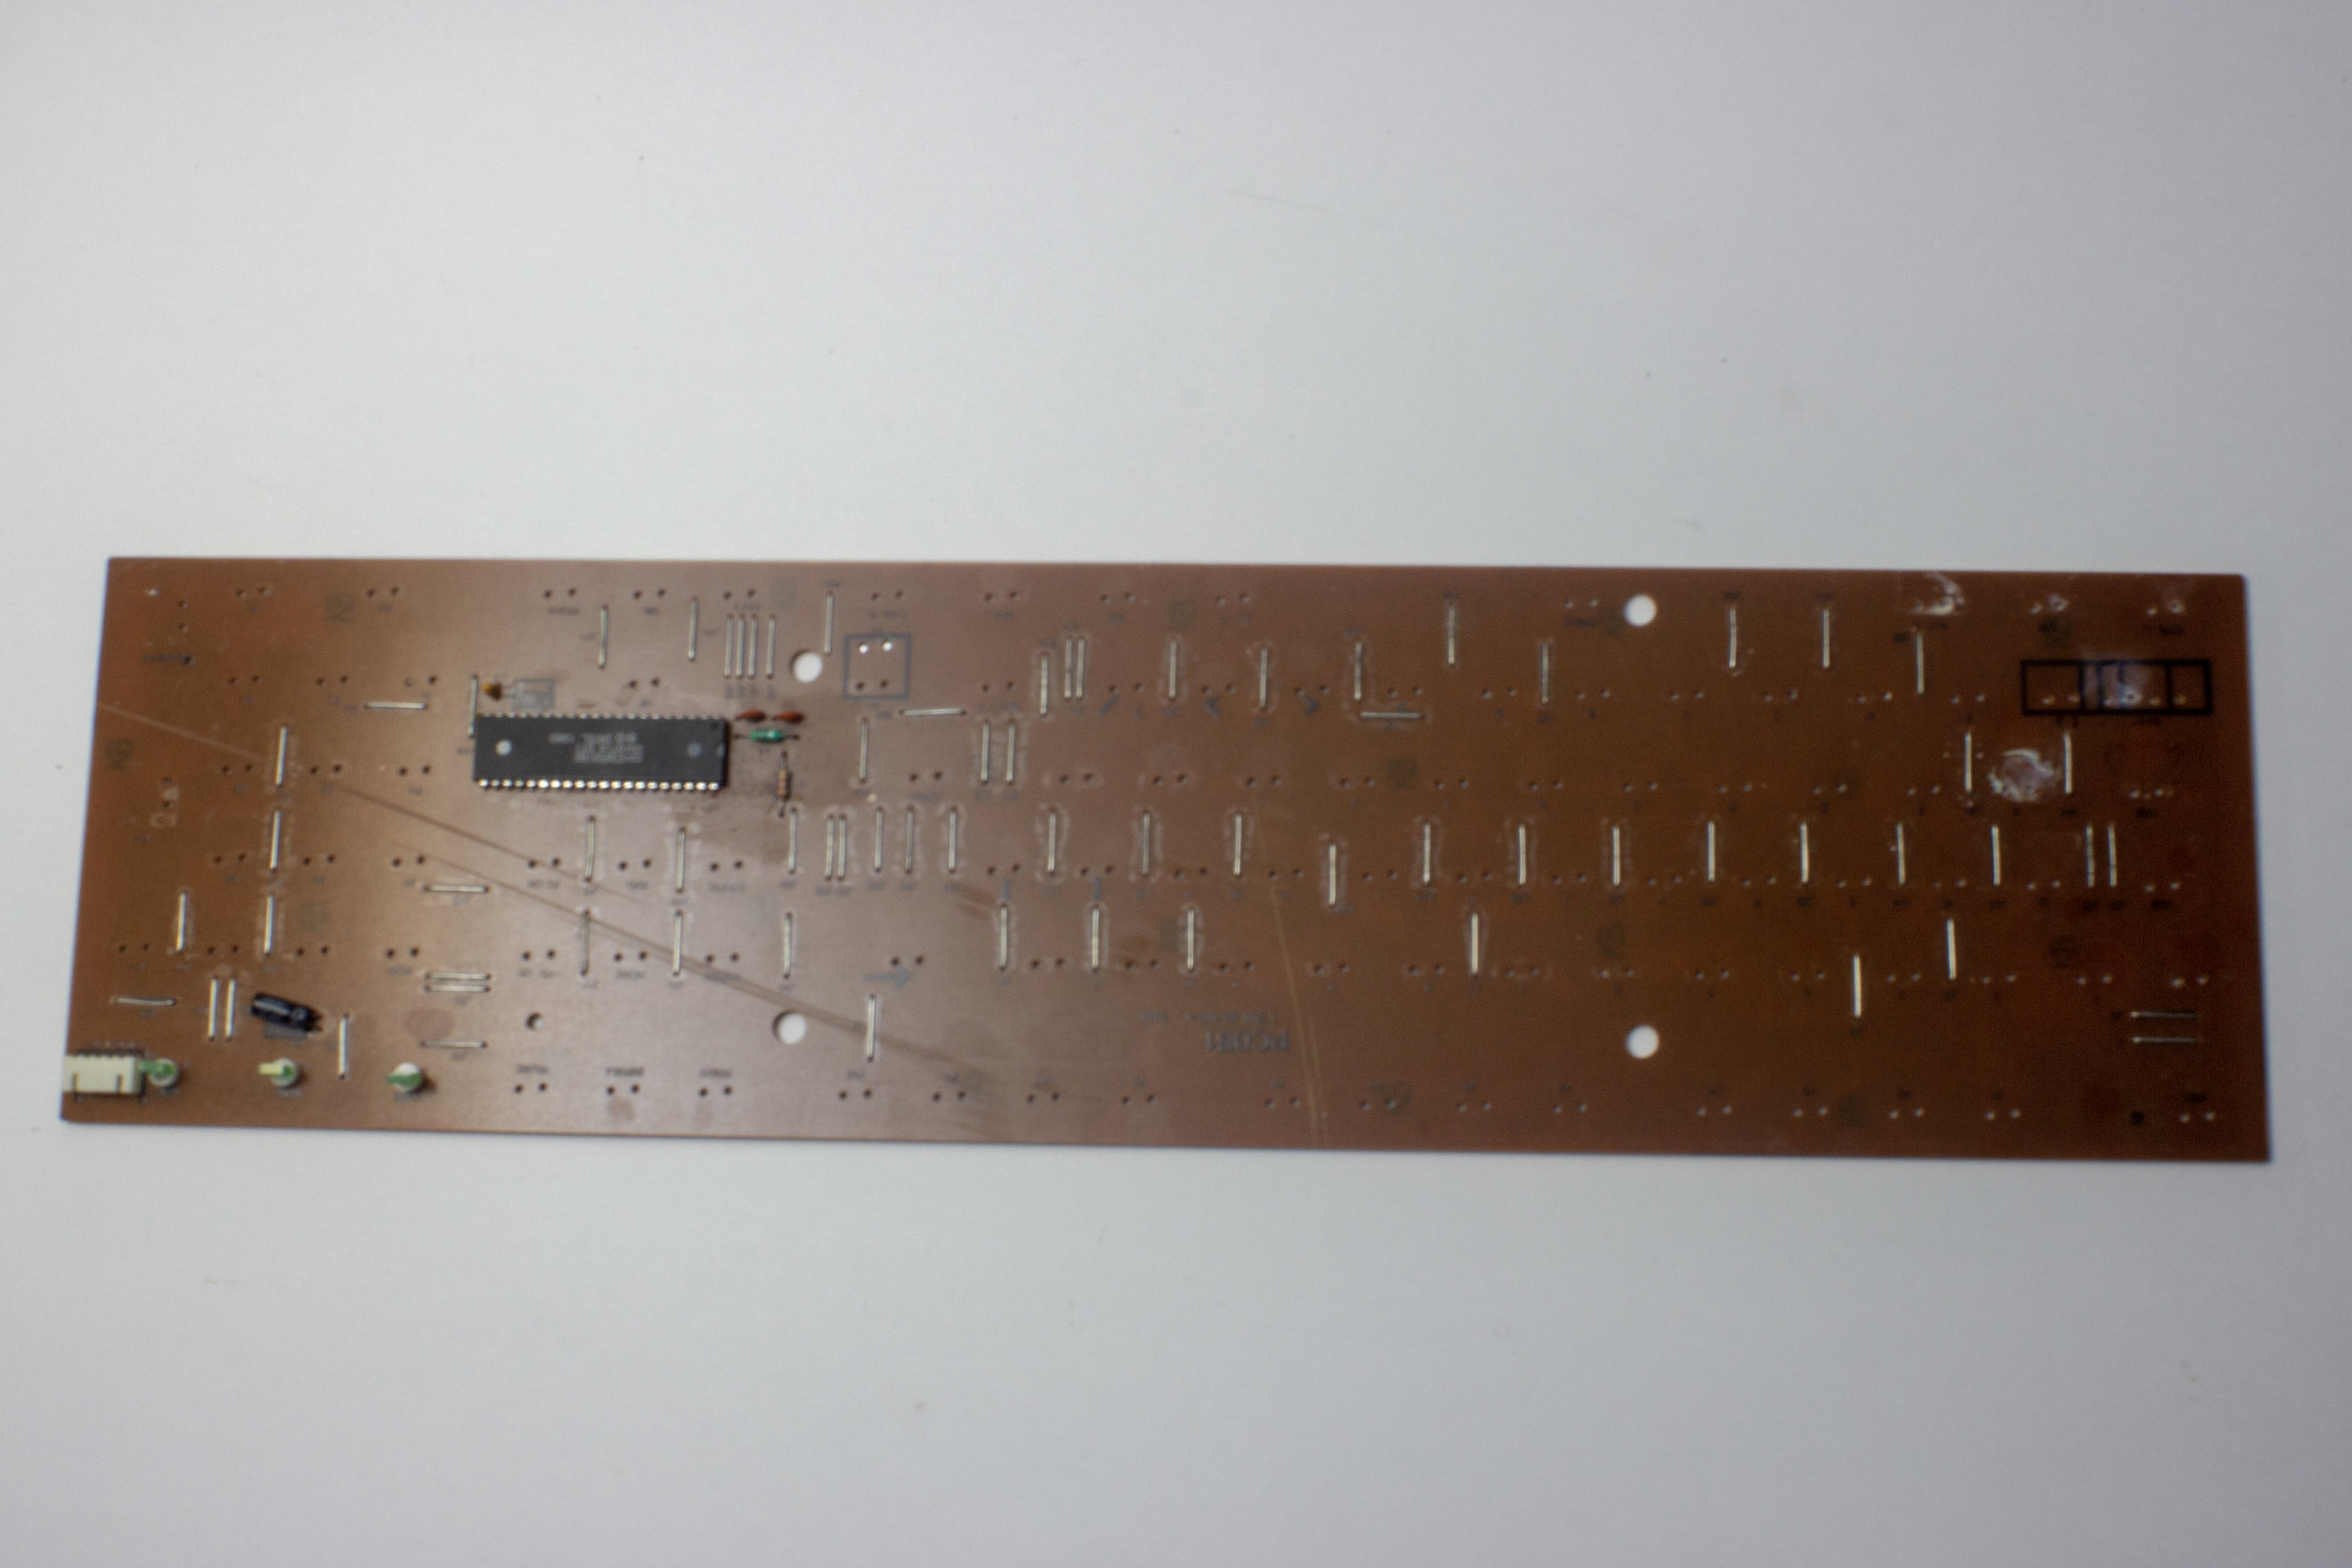


At this point, everything got a thorough scrubbing off camera. The plastic case halves when the in the dishwasher, the keycaps got a cleaning with denture tabs, and the circuit board was hand scrubbed with isopropyl alcohol. I made some purchases online and waited for my parts.
I had originally wanted to use the newer Matias switches, reasoning that this would be a "modernization" of the old board. This plan turned out badly, though, as the Focus's original keycaps wouldn't work with the new switches. Instead, I snagged some genuine Alps SKCM Whites that someone had salvaged from some other board. These are ostensibly the switches that the originals were clones of, so it seemed right.
As I reassembled, I took the opportunity to make a few more improvements and updates.

You see that hole up there? There's supposed to be a plastic badge that fills that hole, but the one for my keyboard was long gone. I guess I could've asked around to see if someone in the community had a spare one, but we're not staying stock with this build. So let's have some fun.

Modeling up the replacement only took a short time, and I figured it needed appropriate branding as well. I wrestled my 3D printer back into life and shoved some black PLA into it. Then at the appropriate time, I swapped to white to create the contrasting letters.
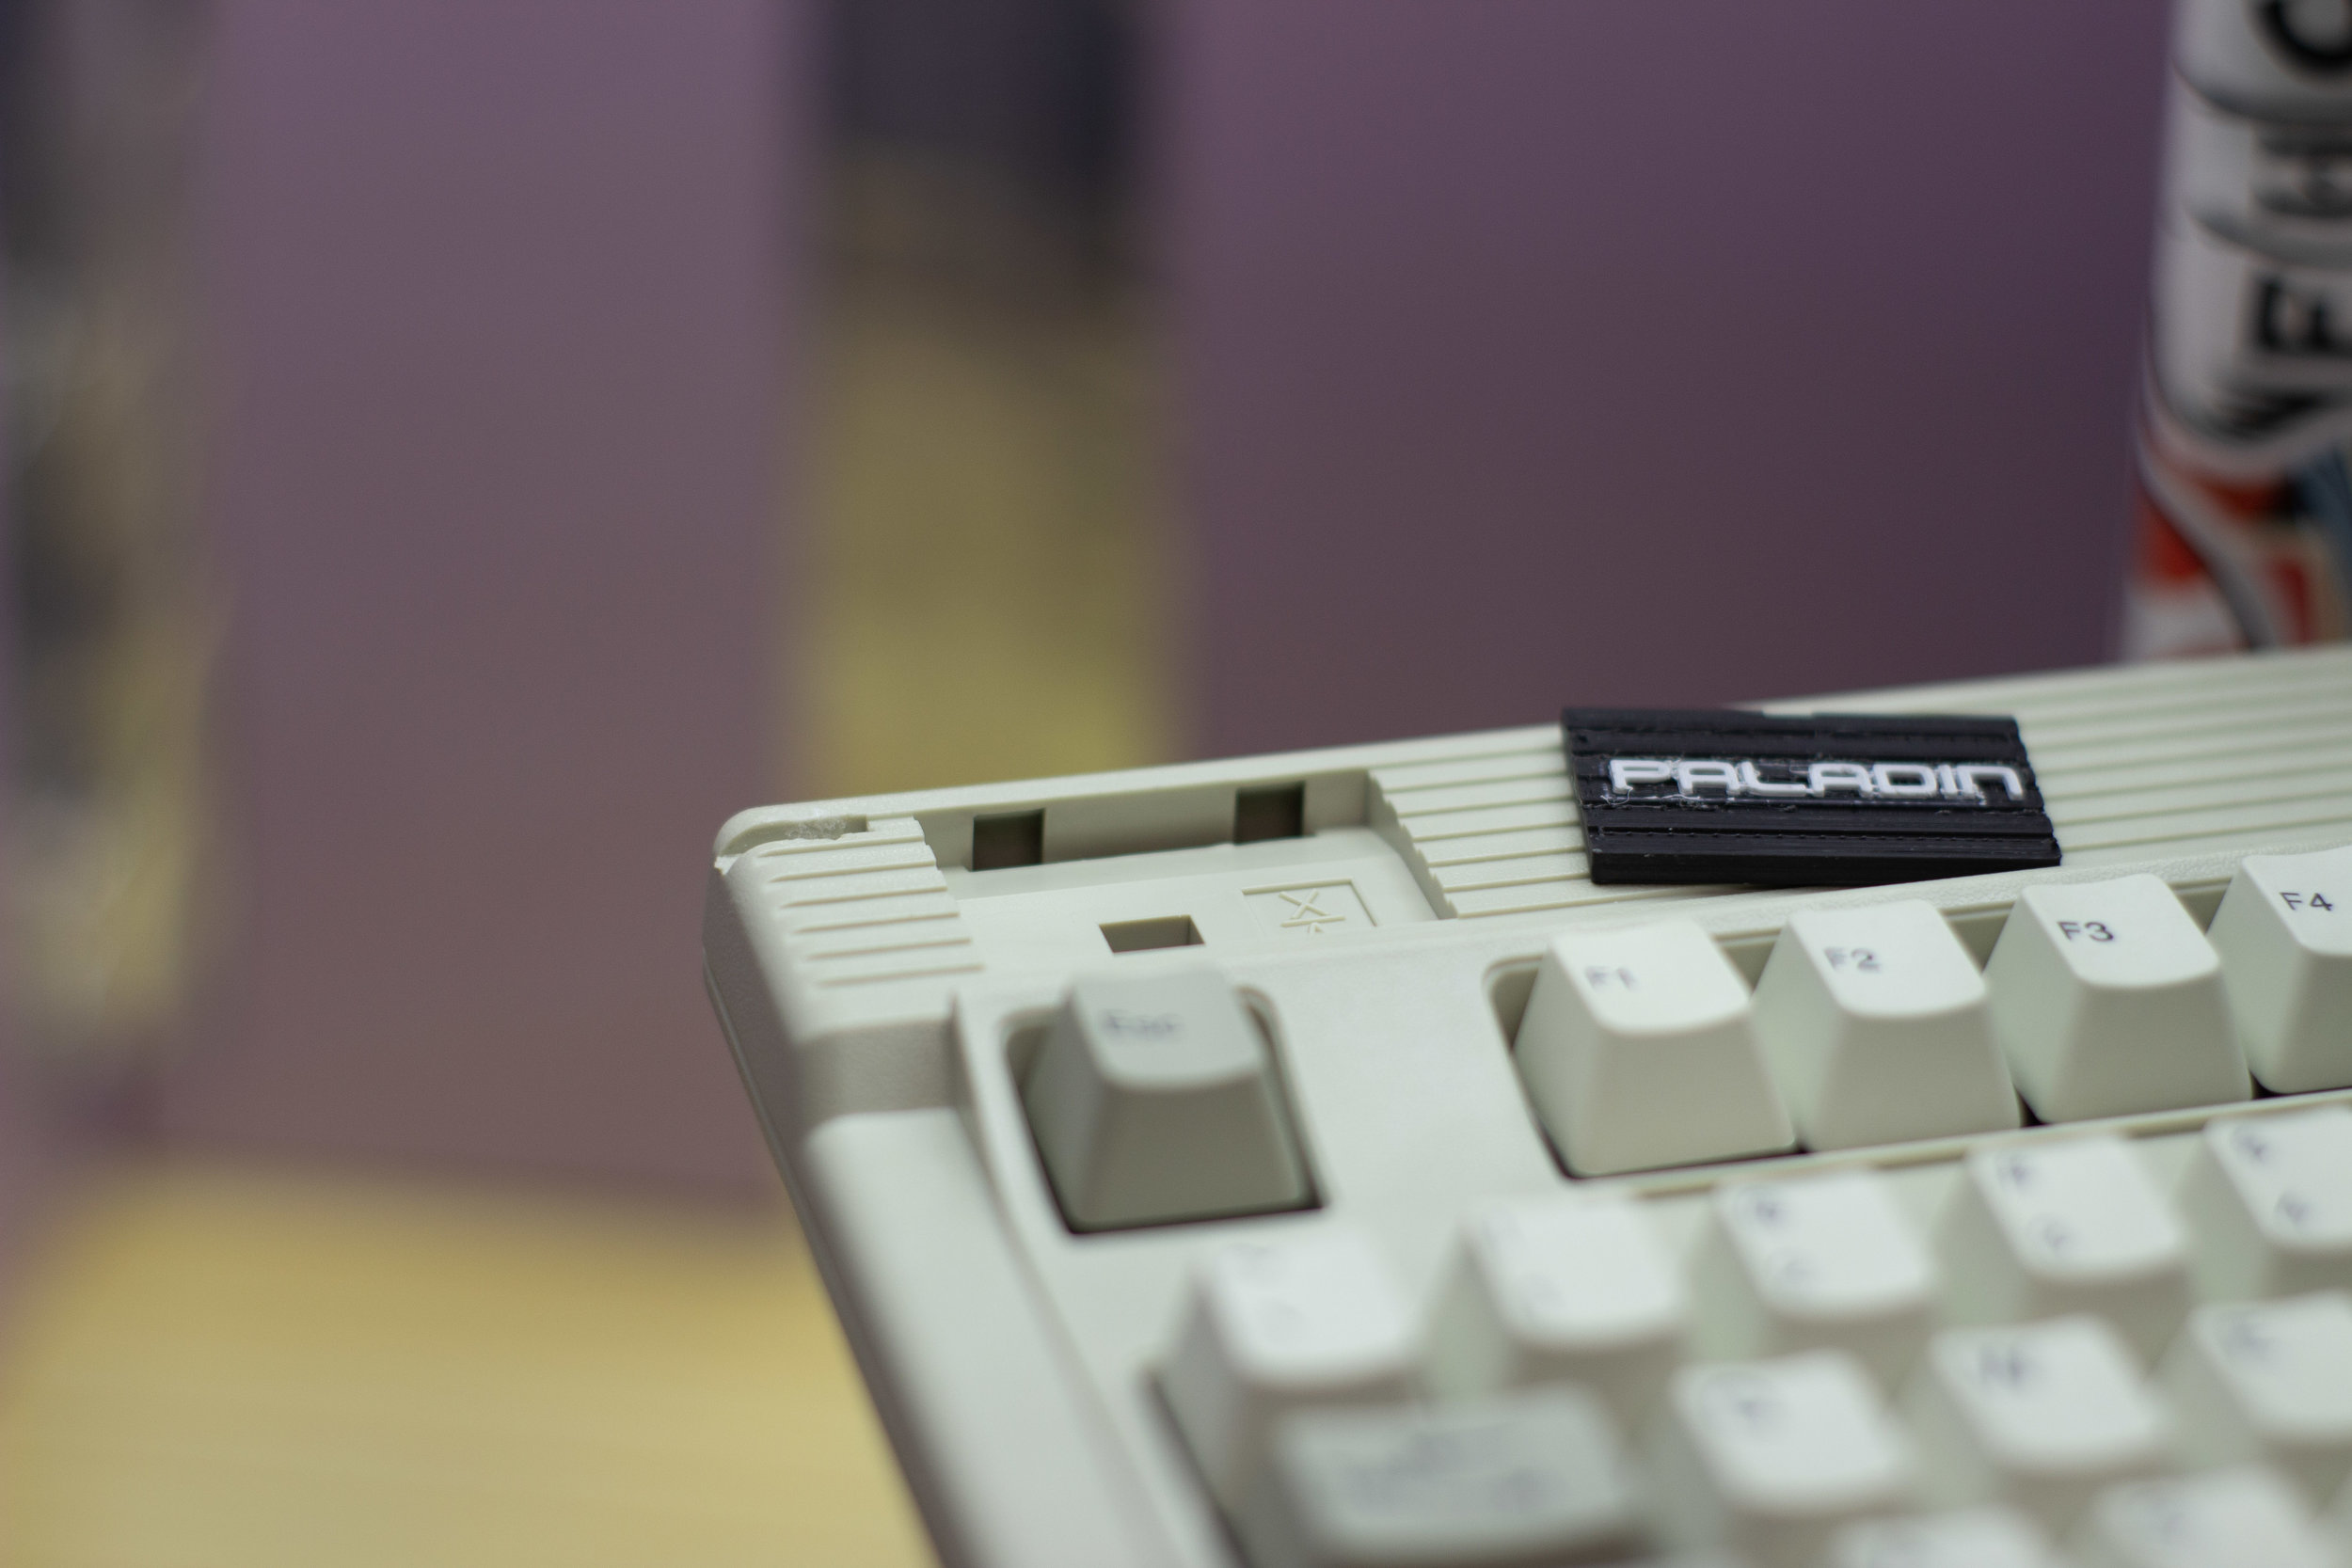
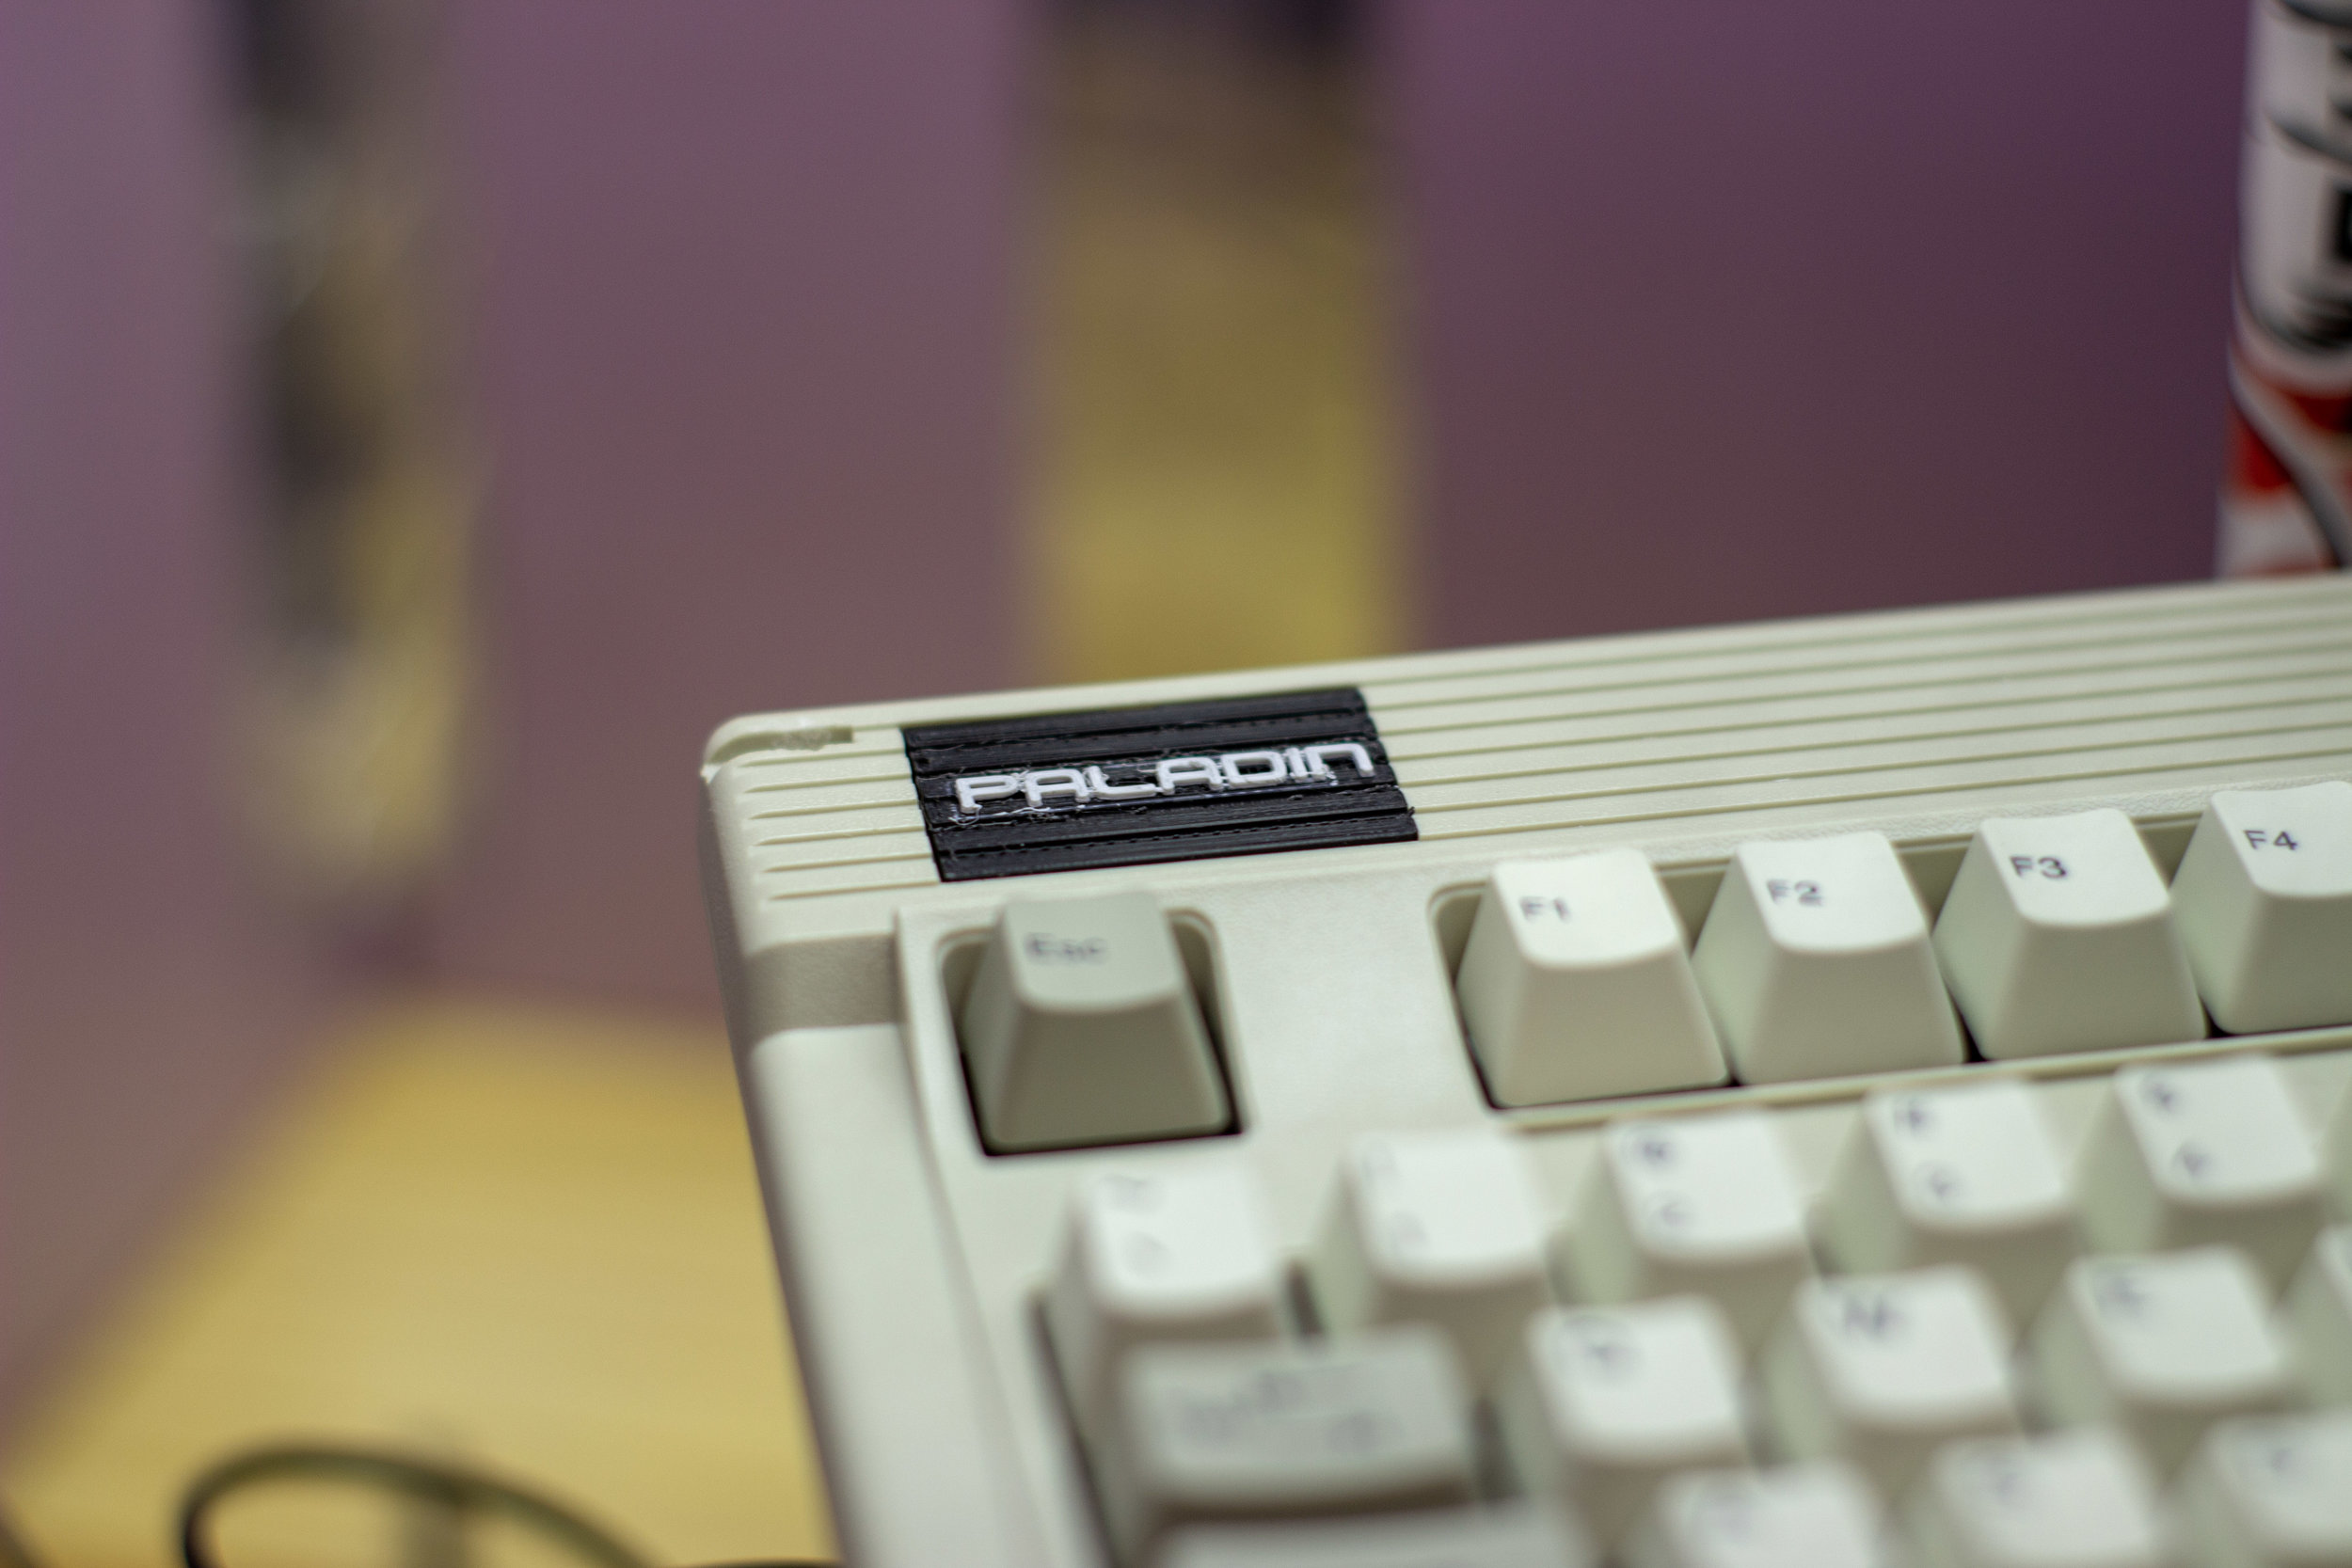
It came out pretty good, and I think it saved my 3D printer from the recycling bin (we have a strained relationship).

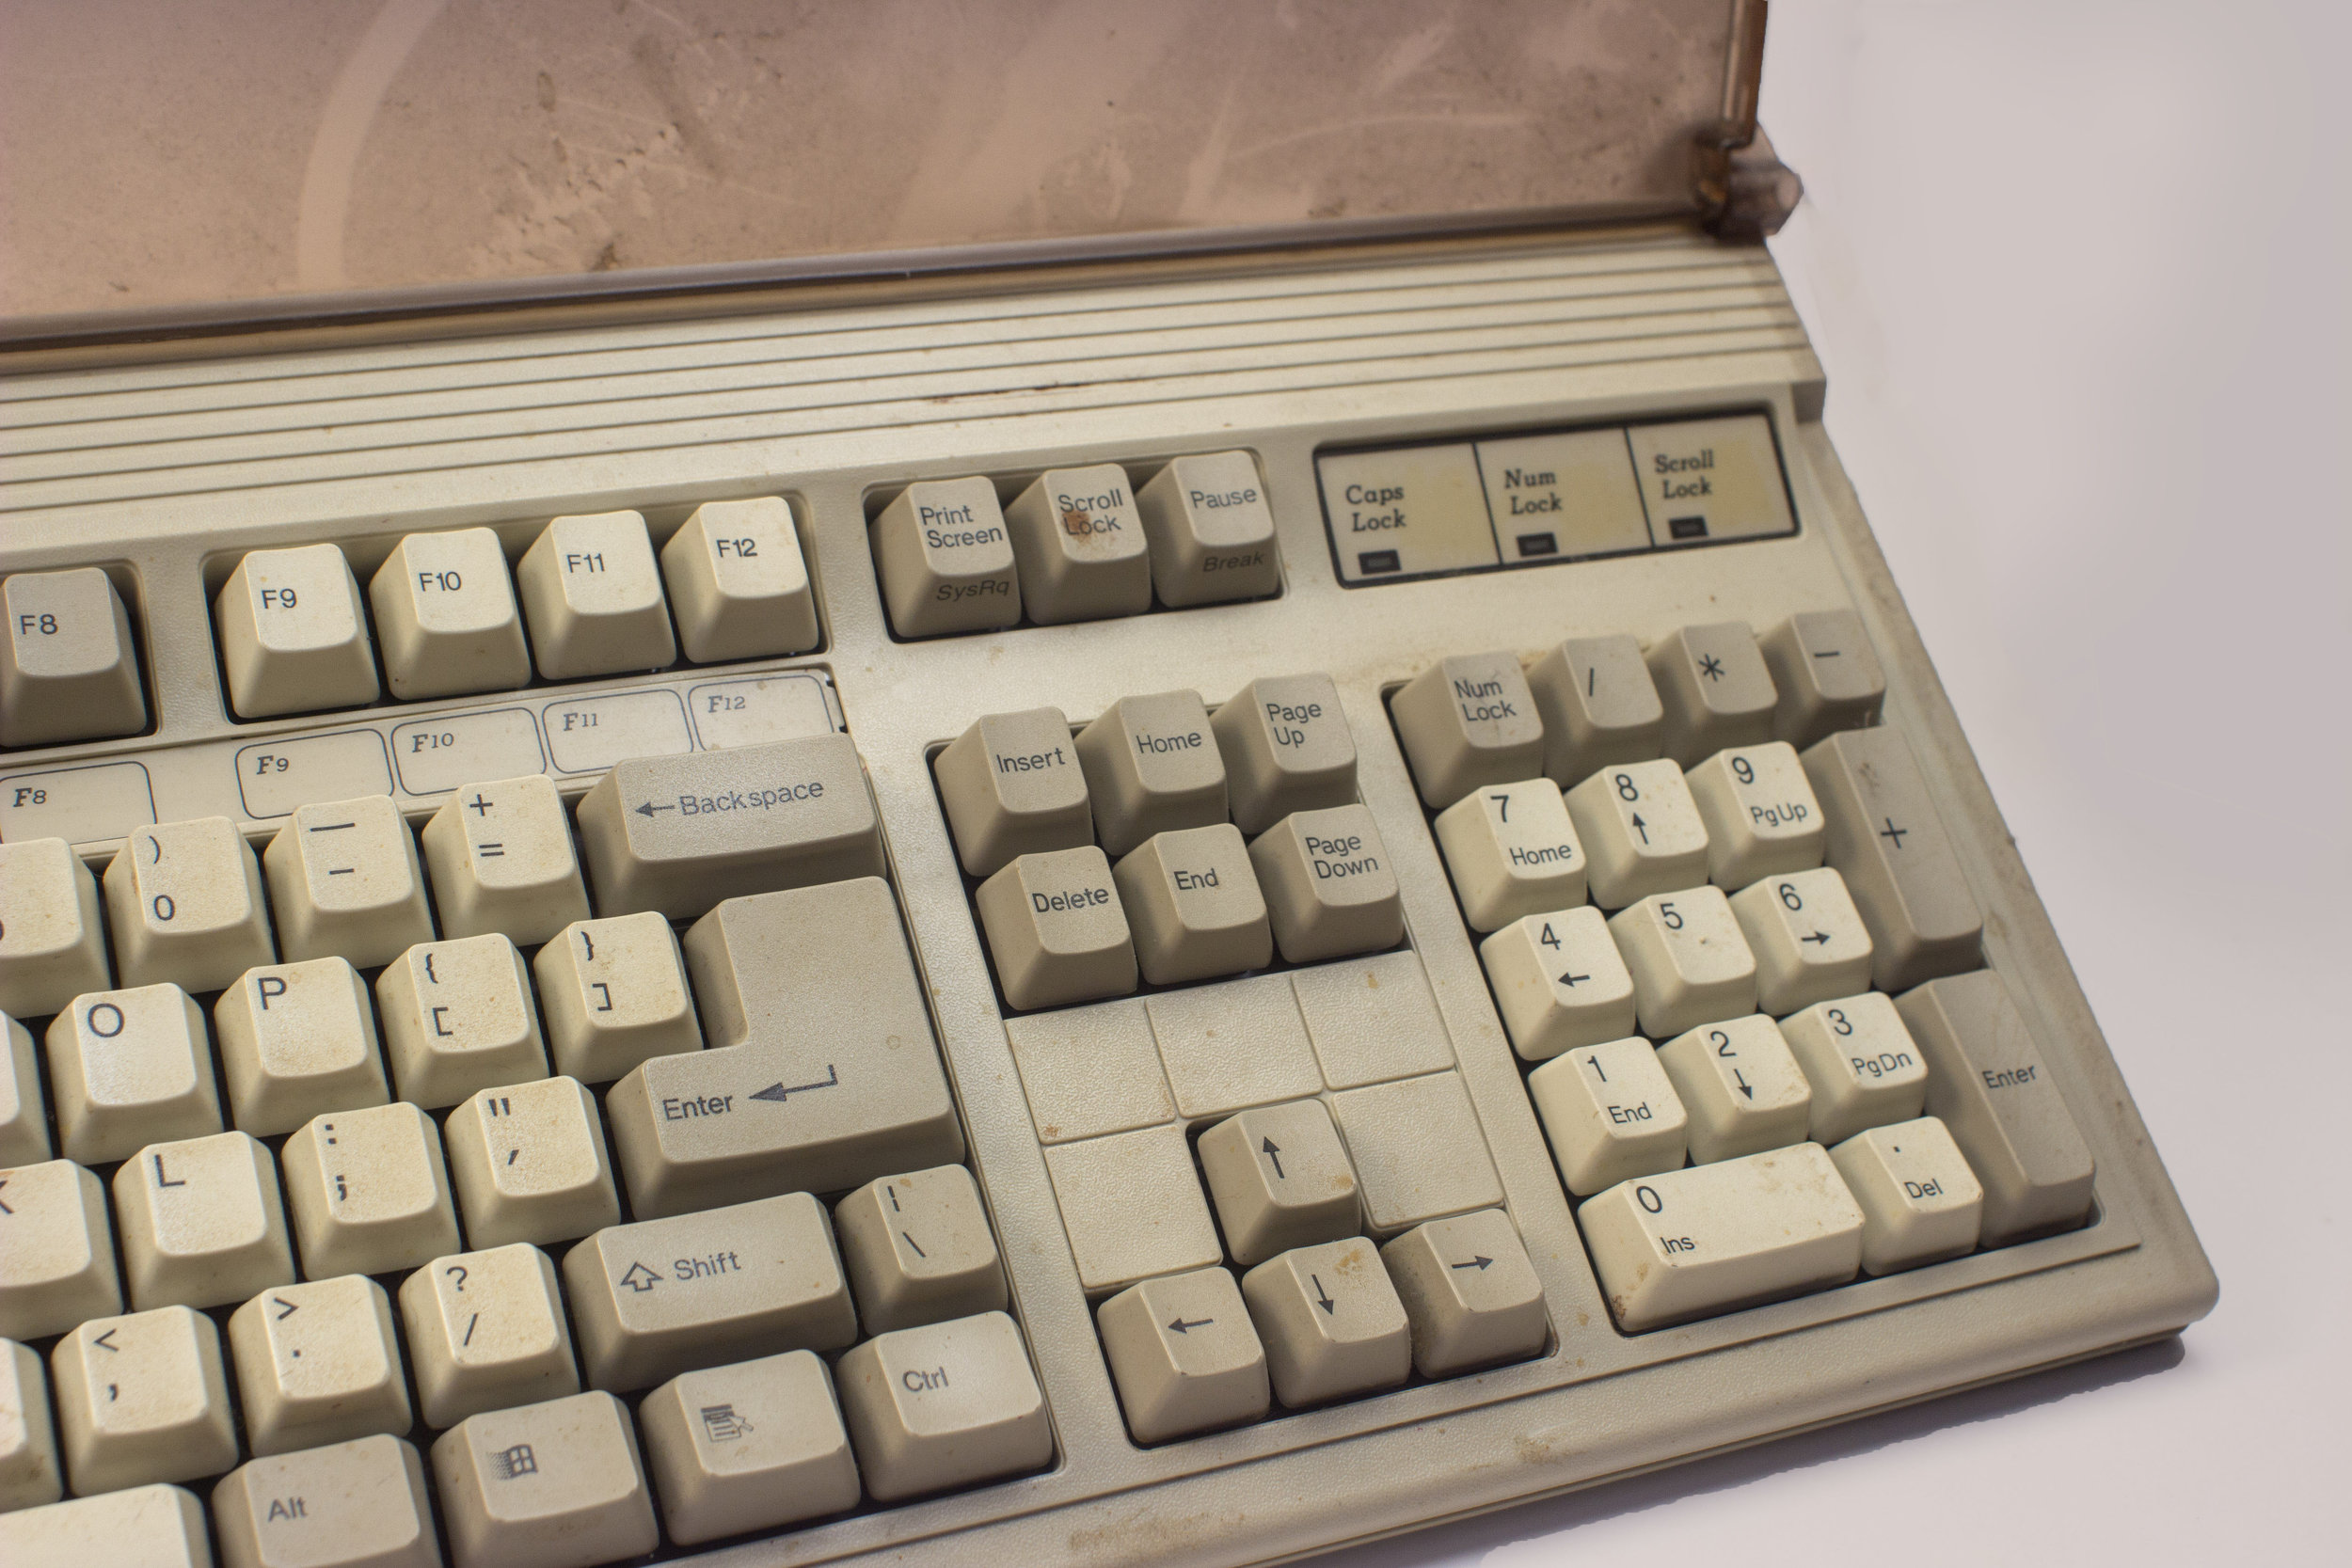
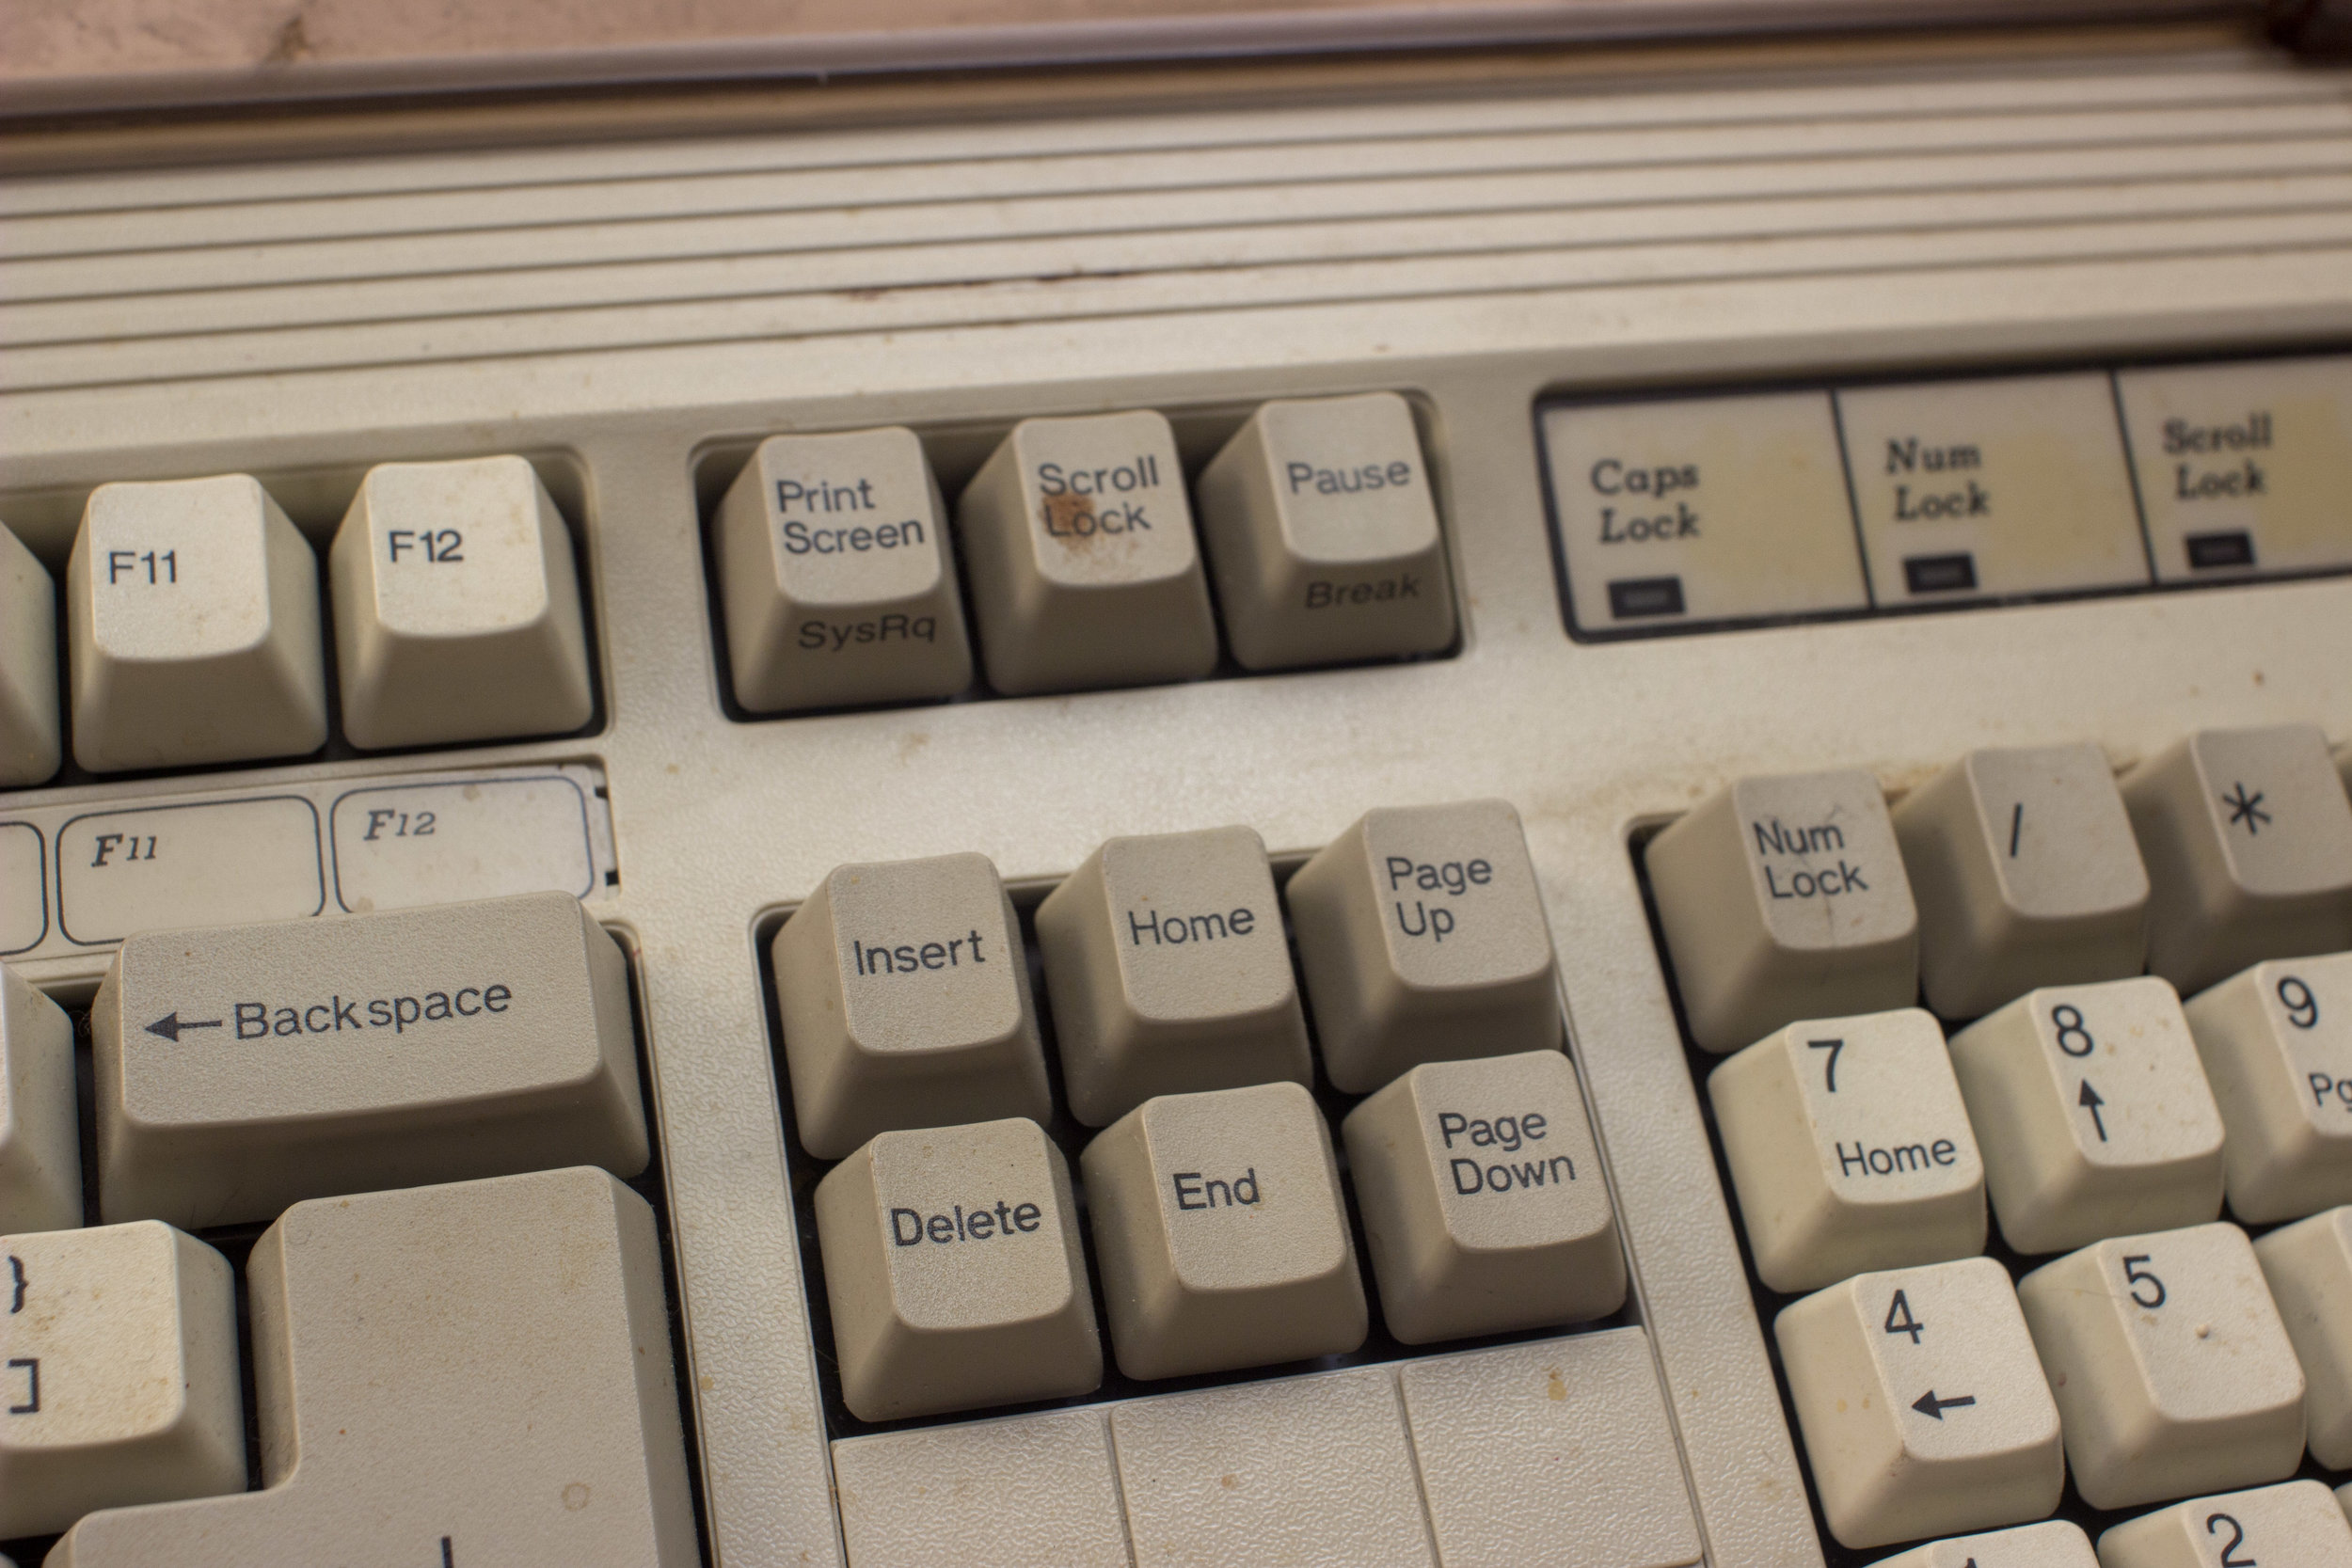
There was also the matter of the lock lights. Originally these were green, but that seemed a bit blase. I ordered both white and amber replacements. I ended up with the amber, as the whites turned out to be twelve volts. This was probably the right decision though, as they had a nice retro look.
Finally, I needed to be able to use this thing on a modern computer. On quick and dirty builds, I tend to flash some converter firmware onto an Arduino Pro Micro, solder up the wire, wrap it in heatshrink, and just let it flop around inside the case. But since my printer was behaving, I decided to try something a bit classier this time.

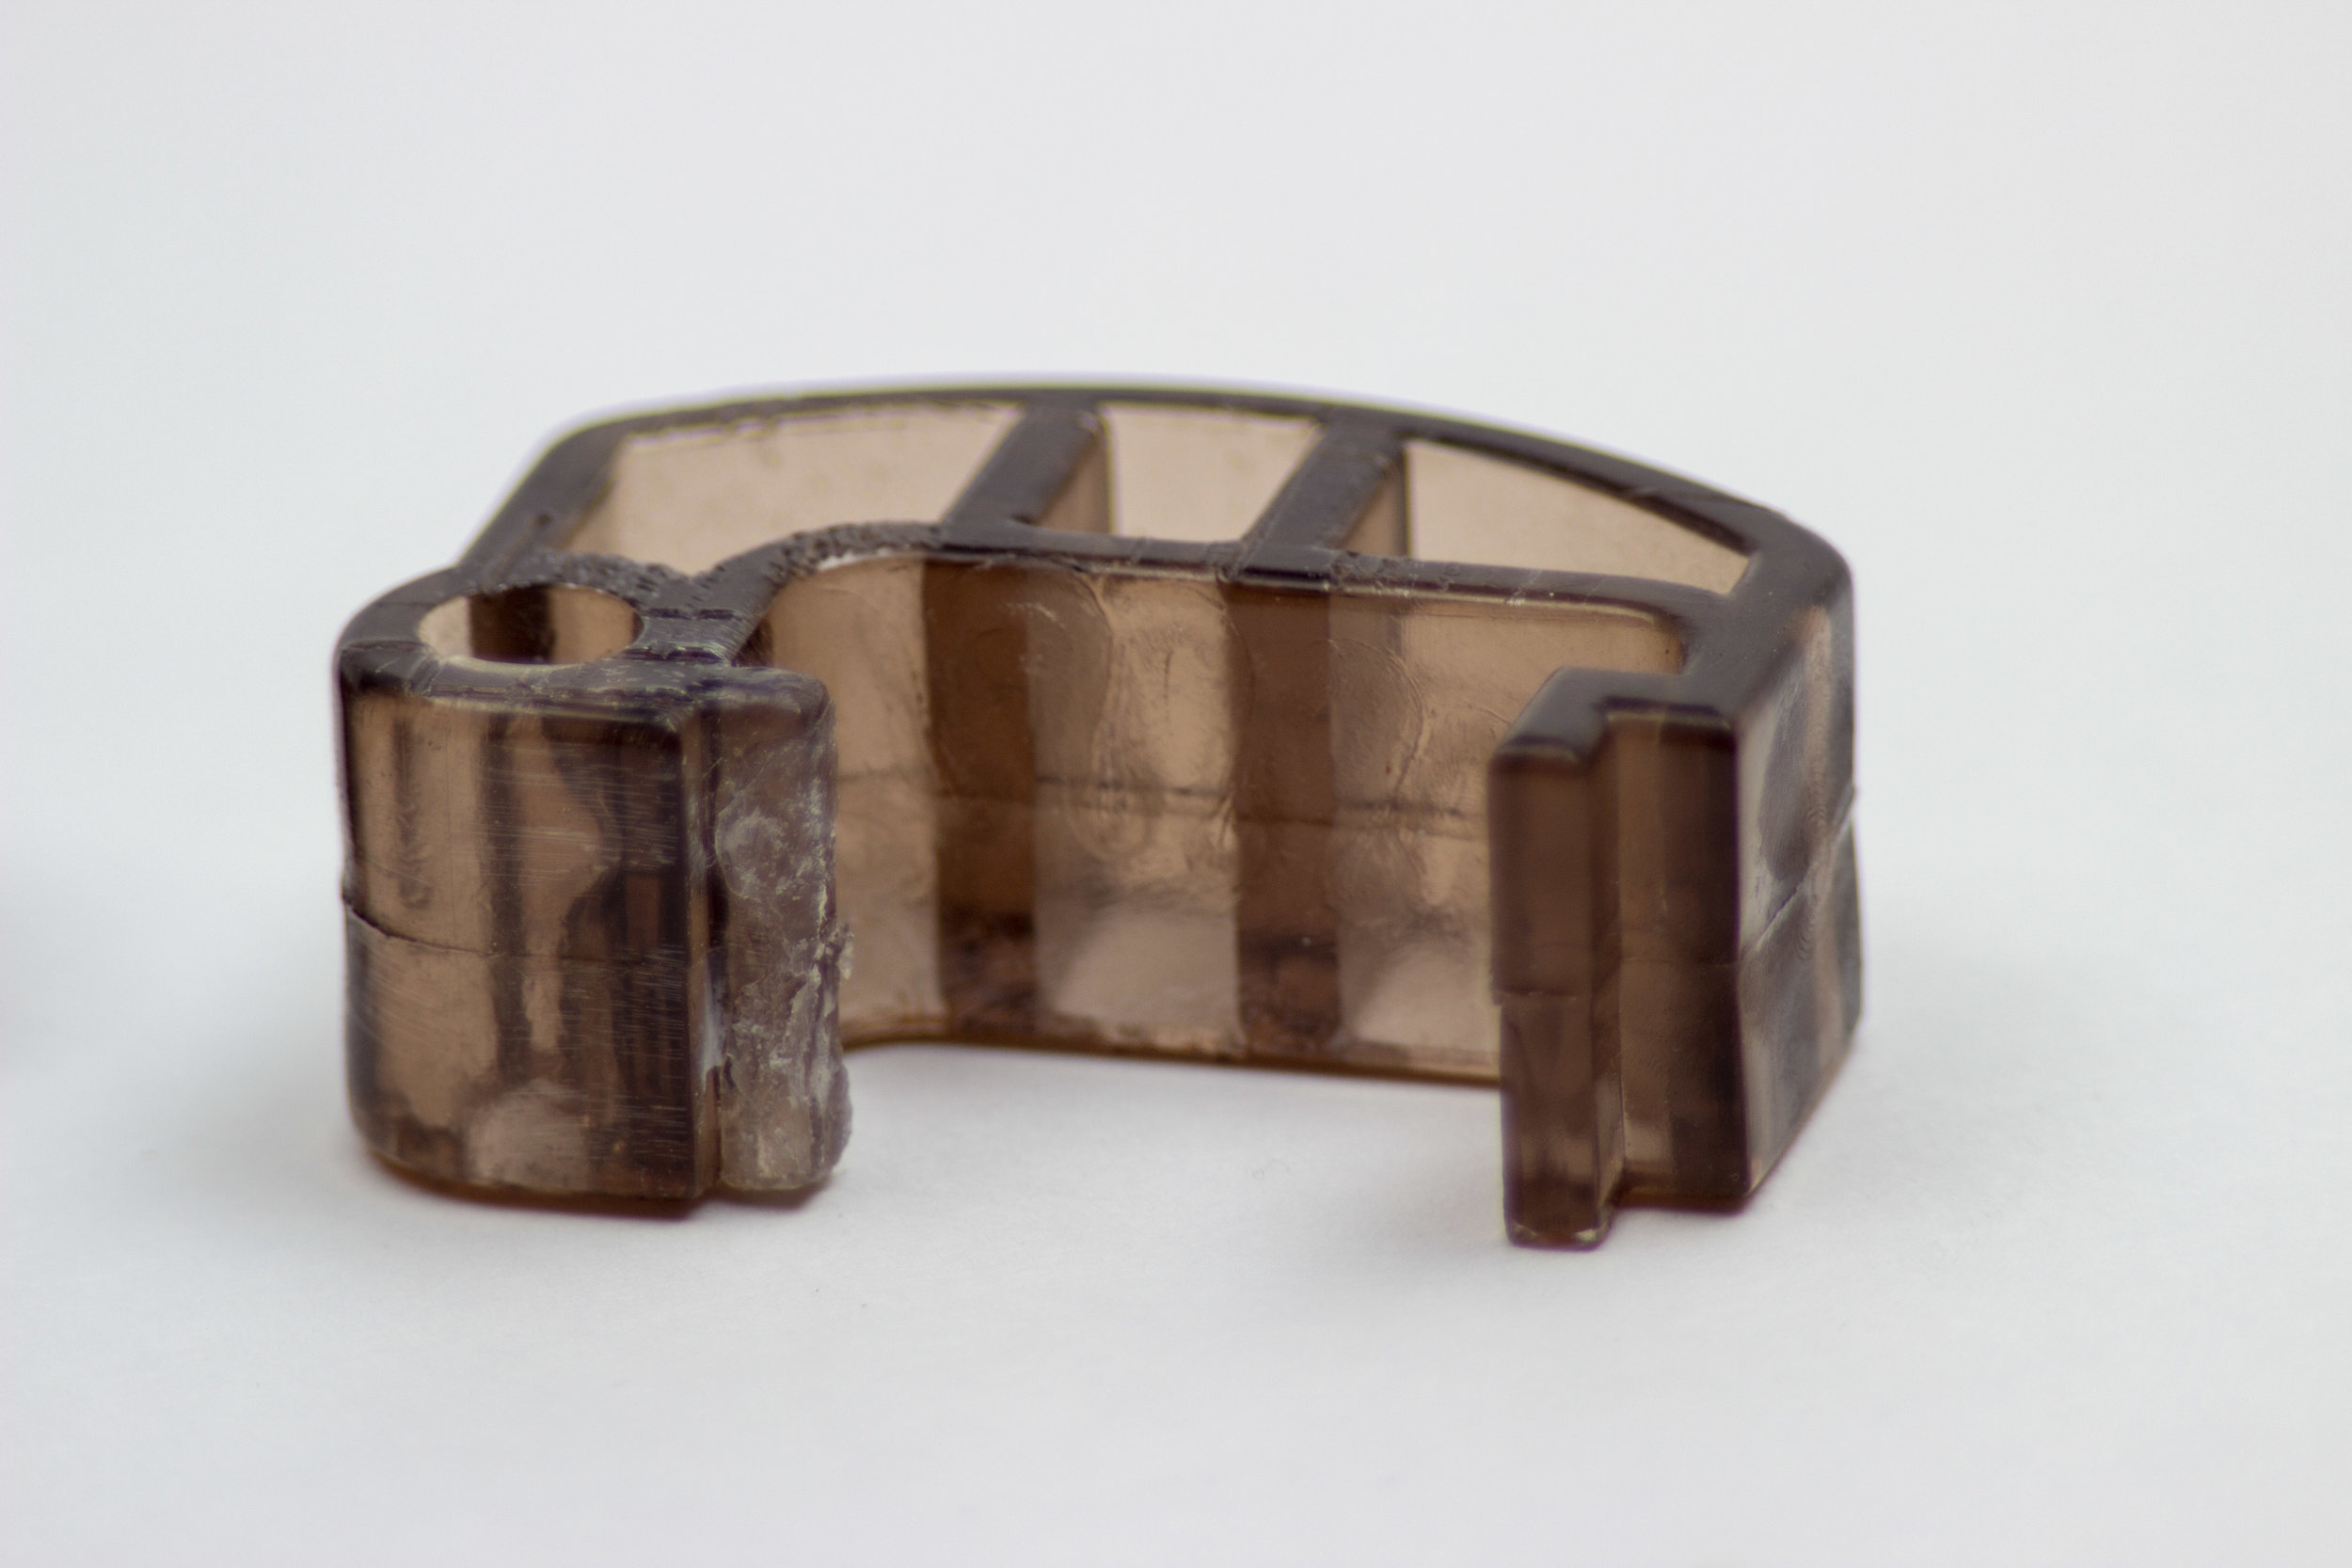
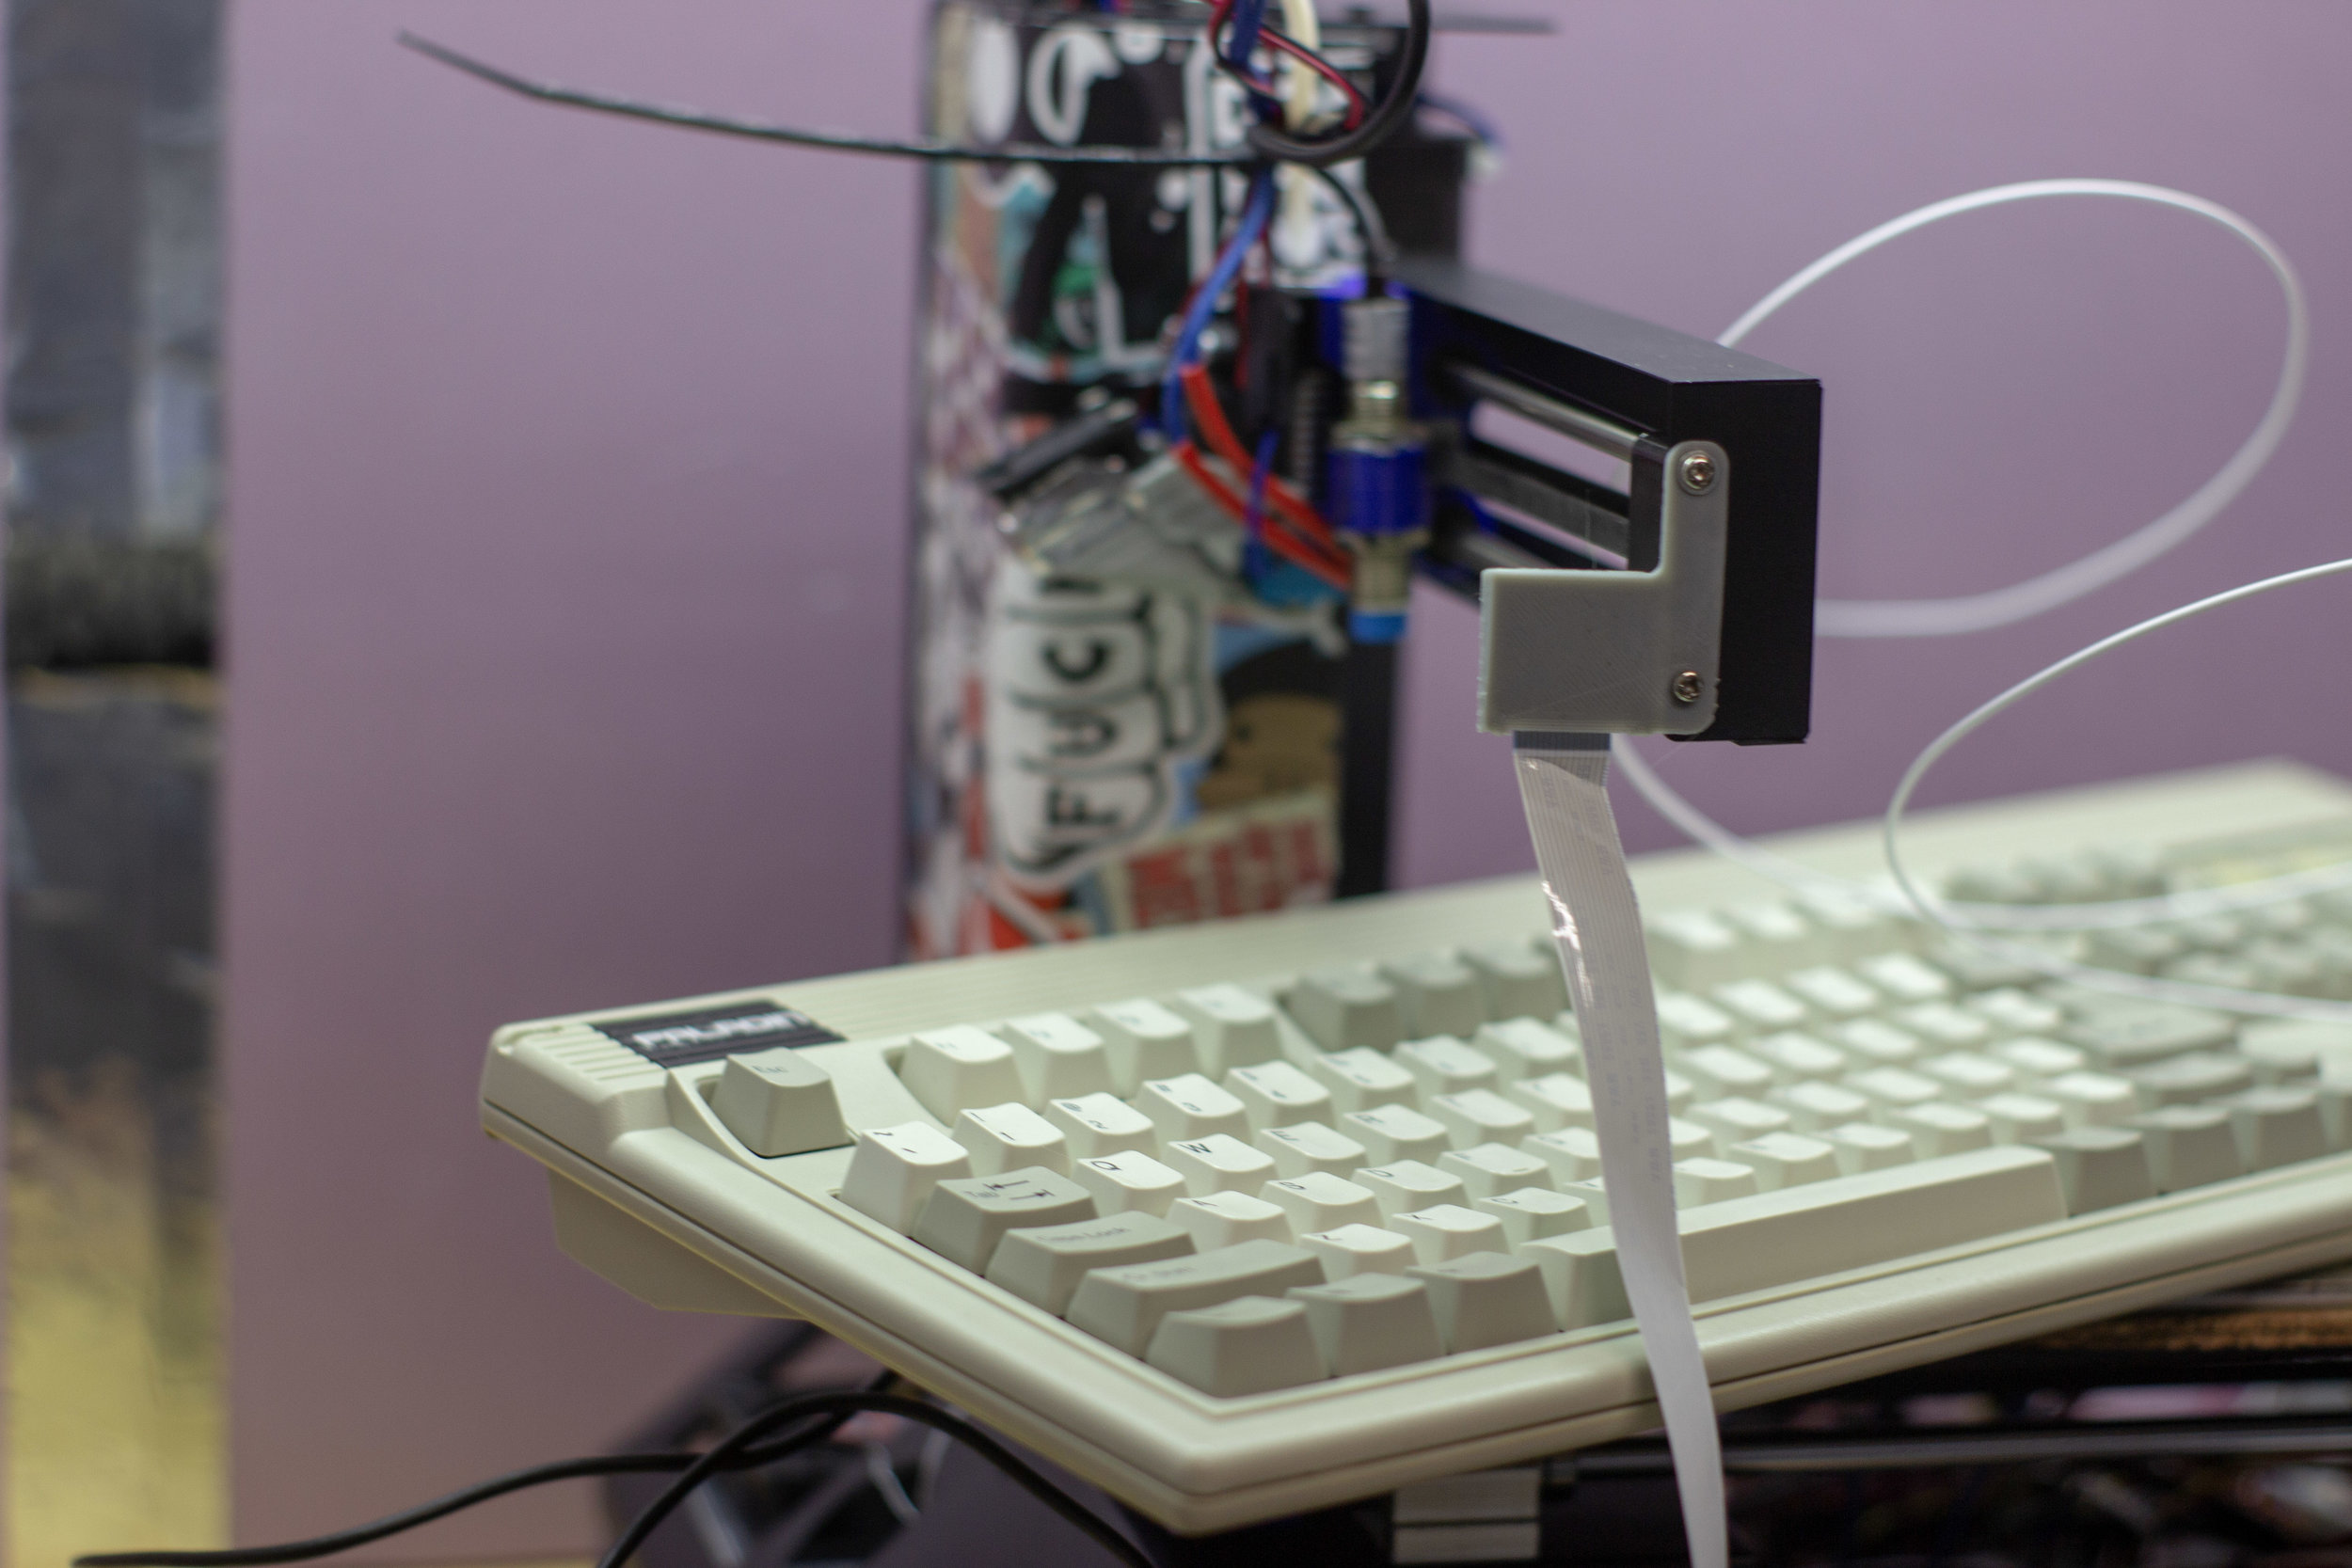
I modeled up a mounting block and a retention clip for the PCB. Fitting them required the removal of some plastic around the old cable hole, but nothing too drastic. I've started using threaded brass inserts for anything 3D printed that needs screws and I'm never going back. There's no way a M2 machine screw in going to thread as well into bare PLA plastic as it does into this.

A very important part of the design of this mount is that the clip reinforces the USB port of the PCB. Plugging an unplugging a cable introduces a lot of force, and it puts stress on the solder joints holding the port to the PCB. This design should transfer that force to the clip instead, which should extend the life of the unit. I can replace the whole PCB if need be, but I'm hoping that get's put off at bit farther with careful design like this.

The mount itself is glued to the case. In a perfect world, I'd use more inserts and machine screws, but that's for another time.

The PCB designers were kind enough to label the connector pins for people like me. This isn't the hardest thing in the world to work out without labels, but it's nice all the same.

I put a new connector on some jumper wires and started to lay out how the cable will run.

I'm not the best solderer in the world, but it gets the job done. After one last to test to make sure everything was tip top, I was able to button the bastard up for the last time. For now, anyway.

All done. It's still not the best looking keyboard in the work, but it's clean and it works. The Alps SKCM Whites are really nice switches. But really, the best feature came from the factory.

Look at that beautiful bad boy. I love it.


